In this article
- Why clean walls matter before painting
- Tools and supplies you will need
- How to clean walls before painting, step by step
- When you can skip a full wash
- Painting after the walls are clean and dry
- Cleaning walls room by room
- Mistakes that ruin a clean wall
- How clean walls save you paint and money
- Frequently asked questions
Quick answer: To clean walls before painting, start by dusting and removing cobwebs from the whole wall, then wash problem areas with the right cleaner: a degreaser or TSP substitute in the kitchen, a mildew cleaner or a diluted bleach solution in the bathroom, and sugar soap or a mild detergent on general grime and handprints. Rinse with clean water and let the wall dry fully before you open a single can of paint.
Clean walls are the difference between a finish that lasts and one that peels in a year. Before you buy a drop of paint, run the numbers on the whole job with our free paint cost calculator, or get a painting estimate if you want a ballpark for the room.
Why clean walls matter before painting
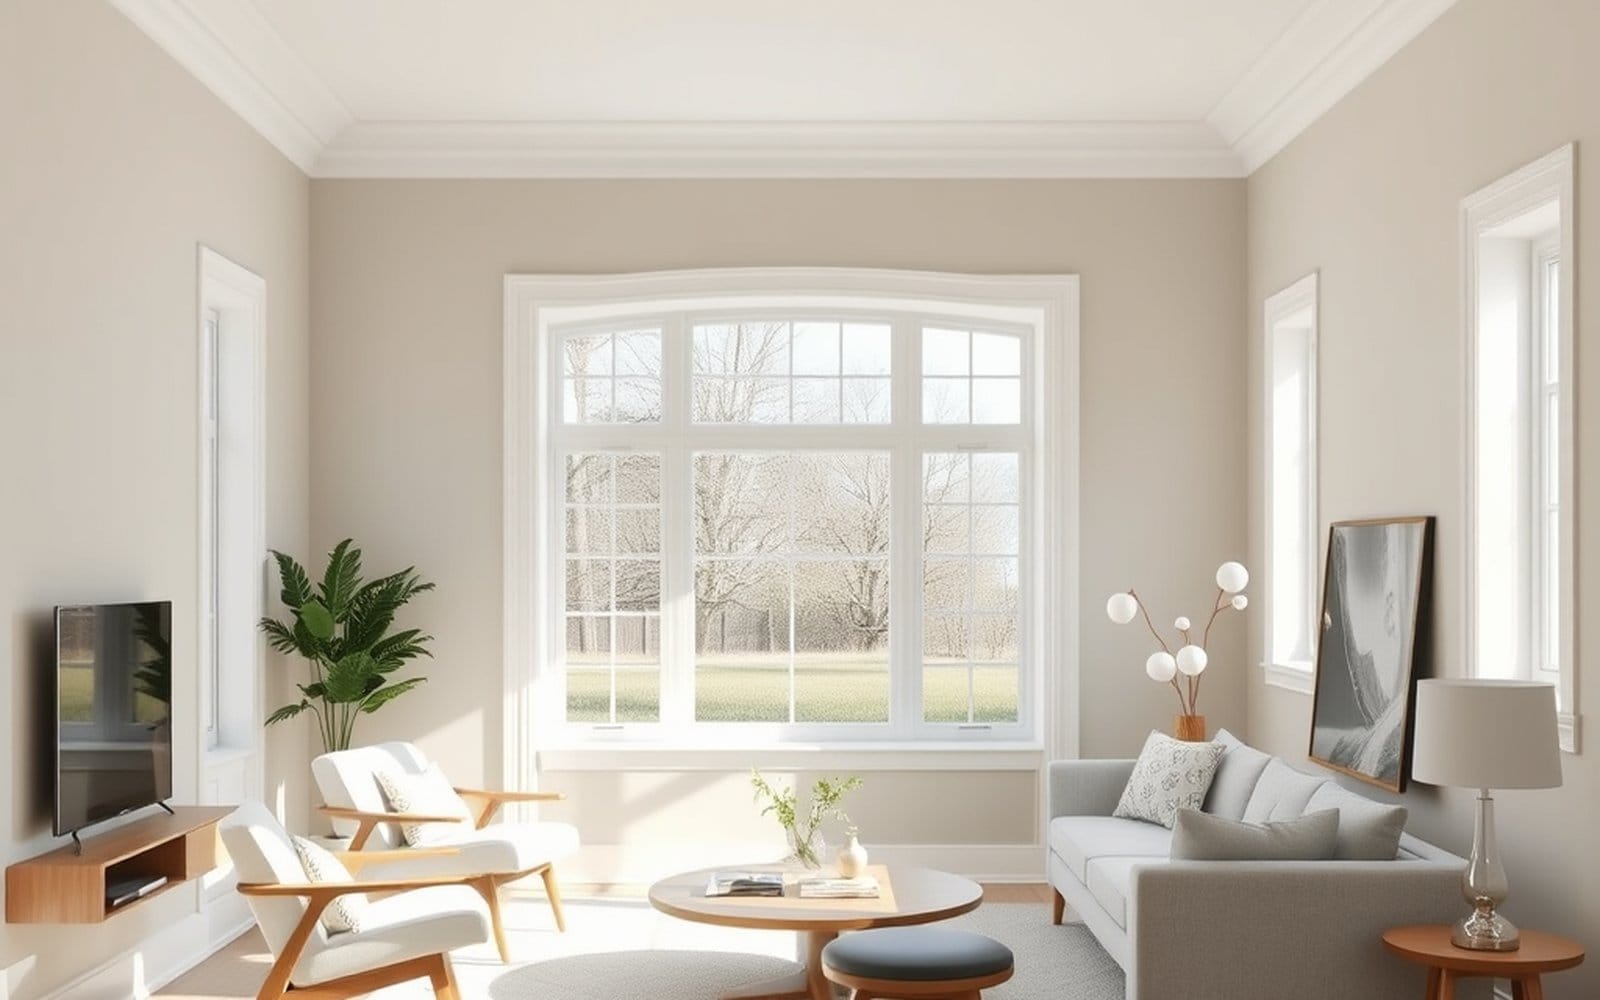
Paint is a bonding agent, not a cover up. It needs to grab onto a clean, sound surface to form a film that sticks. When you paint over dust, grease, smoke film, or grime, the new coat bonds to the dirt instead of the wall. The dirt eventually lets go, and your fresh paint flakes, peels, or rubs off with it.
Grease and kitchen grime are the worst offenders. A thin layer of airborne cooking oil settles on kitchen walls and ceilings over months and years. You often cannot see it, but paint will fish eye, bead up, or refuse to level over a greasy surface. The same goes for the oily residue left by hands around light switches, door frames, and stair rails.
Mildew grows back through paint if you do not kill it. Painting over mildew or mold does not stop it. The spores keep feeding on moisture and any organic material in the paint, and dark spots bleed back through your new coat within weeks. Bathrooms, laundry rooms, and any cool exterior wall are the usual suspects.
A clean wall also helps you see the real surface. Once the dust and grime are gone, cracks, nail holes, and damaged spots show up clearly so you can repair them. Cleaning is step one of a full prep routine. For the complete sequence, see our guide on how to prep walls for painting.
Tools and supplies you will need
For dusting and dry cleaning: a microfiber duster or a broom wrapped in a clean cloth for high cobwebs, a vacuum with a soft brush attachment, and a stack of dry microfiber cloths. This handles the whole wall surface and the ceiling line before any wet work.
For general grime: sugar soap (a classic wall prep cleaner) or a mild dish detergent, two buckets, a large sponge, and lint free cloths. Two buckets let you keep one for cleaning solution and one for clean rinse water so you are not smearing dirt around.
For grease and heavy soil: a degreaser, trisodium phosphate (TSP), or a TSP substitute. TSP is a strong cleaner that cuts grease and dulls glossy surfaces a little, which helps paint grip. Many people now choose a phosphate free TSP substitute because it is gentler to handle and to rinse. Wear rubber gloves and eye protection with any strong cleaner.
For mildew and mold: a dedicated mildew cleaner, or a diluted bleach solution of roughly one part bleach to three or four parts water. Always ventilate the room, wear gloves and eye protection, and never mix bleach with ammonia or other cleaners.
Protection: a drop cloth for the floor, painters tape for trim and outlets you want to keep dry, and rubber gloves for your hands.
How to clean walls before painting, step by step
Step 1: Clear and protect the room. Move furniture out or to the center and cover it. Lay a drop cloth along the base of the wall. Turn off power to the room at the breaker if you plan to wash near outlets and switches, and tape over them to keep water out.
Step 2: Dust the whole wall top to bottom. Start at the ceiling line and work down, knocking off cobwebs in corners and along crown molding. Use the vacuum brush or a dry microfiber cloth on the flat field of the wall. Dry dust first, always, so you are not turning loose dust into mud the moment you add water.
Step 3: Wash general grime with sugar soap or mild detergent. Mix the cleaner per the label, wet your sponge, wring it out so it is damp not dripping, and wash in sections from the bottom up. Washing upward stops dirty streaks from running down over dry wall. Pay attention to handprints and smudges near switches, door handles, and stair rails.
Step 4: Hit grease with a degreaser or TSP substitute. In the kitchen and around the stove, switch to your degreaser or TSP solution. Work it into the greasy film, give it a moment to break down the oil, then wipe. You may need a second pass on the heaviest spots above the range.
Step 5: Treat mildew in bathrooms and damp areas. Apply your mildew cleaner or the diluted bleach solution to any dark spotting, let it sit for the time the label states, and scrub gently. Make sure the bathroom fan is running and a window is open. Confirm the spots are gone before moving on, since survivors will bleed back through paint.
Step 6: Rinse with clean water. This step is easy to skip and costly to skip. Cleaner residue left on the wall, especially TSP, can interfere with paint adhesion just like the dirt did. Wipe the wall down with a sponge and your bucket of clean rinse water, changing the water when it gets cloudy.
Step 7: Let the wall dry completely. Walls hold moisture longer than they look. Give the surface several hours, or overnight in a humid or poorly ventilated room, before you sand, prime, or paint. A fan speeds this up.
When you can skip a full wash
Lightly soiled, low traffic walls often only need a dusting. A bedroom or hallway wall that is clean to the touch and free of grease can usually go straight to a dry dust and a quick wipe of any scuffs. You do not need to wet wash a wall that is not actually dirty.
The test is simple. Wipe a hidden section with a damp white cloth. If the cloth comes back clean, a thorough dusting is enough. If it picks up grime, oil, or a yellow tint, that wall needs washing first.
Glossy and high grime walls still need attention even if they look clean. If you are covering a glossy or semi gloss surface, you will want to dull the sheen so paint grips. See how to sand walls before painting for that step. And no matter how clean a wall is, a bare or stained surface may still need primer, so check do I need primer before painting before you decide.
Painting after the walls are clean and dry
Confirm the surface is dry and dust free, then prep the rest of the room. Run your hand over the wall. It should feel smooth and leave nothing on your fingers. Repair any cracks or holes you uncovered while cleaning, sand the patches flat, and prime where needed.
Prime stained or porous areas. Water stains, grease shadows, and bare patched spots should be sealed with primer so they do not bleed through or soak up your topcoat unevenly. A clean wall lets the primer bond the way it is meant to.
Then paint the room in the right order. With clean, dry, primed walls you are ready for the fun part. Follow the cut in and roll sequence in our walkthrough on how to paint a room, and use the paint calculator so you buy the right amount and only make one trip to the store.
Cleaning walls room by room
Kitchen walls need degreasing, not just dusting. The kitchen is the dirtiest room to prep because cooking throws a fine mist of oil into the air that lands on every surface. Walls above and beside the stove, the backsplash area, and the ceiling over the cooktop all collect grease. Plan to use a degreaser or TSP substitute on the whole kitchen, not just the obvious splatter spots, because the invisible film spreads farther than you think. Cabinets and the wall behind the trash can also tend to be greasy.
Bathroom walls battle moisture and mildew. Bathrooms cycle through humid and dry all day, which is exactly what mildew loves. Check the ceiling above the shower, the wall behind the toilet, and any cool corner that does not get airflow. Treat every dark spot, ventilate hard while you work, and consider running the exhaust fan for a while after to dry the surface. A mildew resistant primer and paint can help in a room that keeps growing spots.
Bedrooms and living rooms are mostly about dust and scuffs. These rooms usually only need a thorough dusting plus spot cleaning of handprints, scuffs, and the grime that builds up around light switches and behind furniture. Pet owners should pay extra attention to the lower wall, where fur, nose prints, and body oils collect at animal height.
Hallways, stairwells, and entryways collect hand grime. Anywhere people steady themselves, along stair walls, around door frames, and beside light switches, you get a build up of skin oil that paint struggles to cover. Hit these high contact zones with sugar soap or a degreaser even if the rest of the wall looks fine.
Mistakes that ruin a clean wall
Washing top to bottom. Dirty water runs down and streaks the dry wall below, and those streaks can dry into marks that show through paint. Always wash from the bottom up, and rinse the same way.
Skipping the rinse. Cleaner residue, especially TSP, is just another contaminant if you leave it on the wall. It can stop paint from bonding exactly like the grime you removed. Rinse with clean water every time you use a strong cleaner.
Painting before the wall is dry. A wall that feels dry on the surface can still hold moisture. Trapped moisture causes bubbling, poor adhesion, and even mildew under the new paint. When in doubt, give it more time and run a fan.
Soaking the wall. Use a damp sponge, not a dripping one. Drywall and joint compound absorb water and can soften or swell if you flood them. Wring the sponge out well and work in controlled sections.
Reusing dirty water. Wiping a wall with a bucket of gray water just redeposits grime in a thin film. Change your rinse water as soon as it clouds, and keep your wash and rinse buckets separate so you finish on genuinely clean water.
How clean walls save you paint and money
A clean surface needs fewer coats. Paint covers and levels better over a clean, sound wall, which often means you reach full coverage in two coats instead of fighting an extra one over grime. Every coat you skip is paint, time, and money saved.
It protects the cost of the whole job. Paint, primer, and your labor add up, and all of it rides on adhesion. A finish that peels because it bonded to grease has to be scraped, reprepped, and repainted, doubling the work. The cheap bucket and sponge step protects the most expensive part of the project, the finish itself. Run your numbers in the paint cost calculator and the cleaning supplies will look like the best money you spend.
Frequently asked questions
Do I really need to wash walls before painting?
Yes, if the walls are dirty, greasy, or have any mildew. Paint will not bond properly over grease, smoke film, or grime, and the new coat can peel. Clean, lightly soiled walls in low traffic rooms may only need a thorough dusting.
What is the best cleaner for walls before painting?
It depends on the soil. Use sugar soap or mild detergent for general grime, a degreaser or TSP substitute for kitchen grease, and a mildew cleaner or diluted bleach solution for mold and mildew in bathrooms. Always rinse afterward.
Can I use TSP to clean walls before painting?
Yes. TSP is a strong cleaner that cuts grease and lightly dulls glossy surfaces, which helps paint grip. Wear gloves and eye protection, ventilate the room, and rinse the wall well, since leftover TSP residue can interfere with adhesion. A phosphate free TSP substitute works too.
How long should walls dry after washing before painting?
Give the wall at least a few hours, and overnight in humid or poorly ventilated rooms. Walls hold moisture longer than they look, and painting over a damp surface can trap moisture and cause adhesion problems. A fan speeds drying.
How do I clean grease off kitchen walls before painting?
Use a degreaser, TSP, or a TSP substitute mixed per the label. Work it into the greasy film, let it break down the oil for a moment, then wipe. Heavy areas above the stove may need a second pass. Rinse with clean water and let it dry fully.
Will painting over mildew get rid of it?
No. Painting over mildew traps it, and the spores keep growing and bleed back through the new coat within weeks. Kill it first with a mildew cleaner or a diluted bleach solution, confirm the spots are gone, ventilate well, then prime and paint.
Walls that are wiped with disinfectant every day carry residues that ordinary cleaning misses. For painters, how that prep is priced in patient areas is covered in healthcare painting projects.
Cleaned up a few smears on the windows? See how to get paint off glass.