
In this article
- Why Staining a Pergola Is Different
- Stain or Paint, and Which Finish for a Pergola
- Choosing the Right Stain Type
- Tools and Materials
- Prep: Clean, Dry, and Smooth the Wood
- Stain Before or After You Build?
- Test on a Hidden Spot First
- Applying the Stain Overhead
- Ladder and Overhead Safety
- Dry Weather Window and Recoating
- Common Mistakes to Avoid
- Maintenance and the Recoat Cycle
- Cost and Whether to Hire It Out
- Frequently asked questions
Quick answer: To stain a pergola you choose a semi-transparent exterior or deck stain, pick a dry weather window with no rain or heavy dew in the forecast and moderate temperatures, then apply thin coats with the grain, back-brushing so the stain soaks in evenly. The part that makes a pergola different is that it is overhead, so you are working off a ladder and fighting drips onto yourself and the patio below, and it has a lot of exposed end-grain at the beam cuts and rafter tails that soaks up stain and rots first if you skip it. Staining the pieces before you assemble the pergola is far easier than after. Price the job first in the painting cost calculator.
A pergola looks like a small staining job because it is mostly open air. There are no solid walls, just posts, beams, and rafters with gaps between everything. That open structure is exactly what makes it awkward. Every one of those members has four sides, most of them are over your head, and the joints and end cuts where water pools are the very spots that fail first. You spend more time repositioning a ladder and wiping drips off your forearm than you do actually moving stain.
This guide is written for the homeowner doing the work themselves. It covers how a pergola differs from a flat deck, how to choose the right stain, whether to coat the wood before or after you build, and how to apply an even finish overhead without wearing half of it. Any dry times, coverage figures, or recoat intervals mentioned here are round example ranges, because they all vary by product and wood, so follow the label on the can you actually buy.
Why Staining a Pergola Is Different
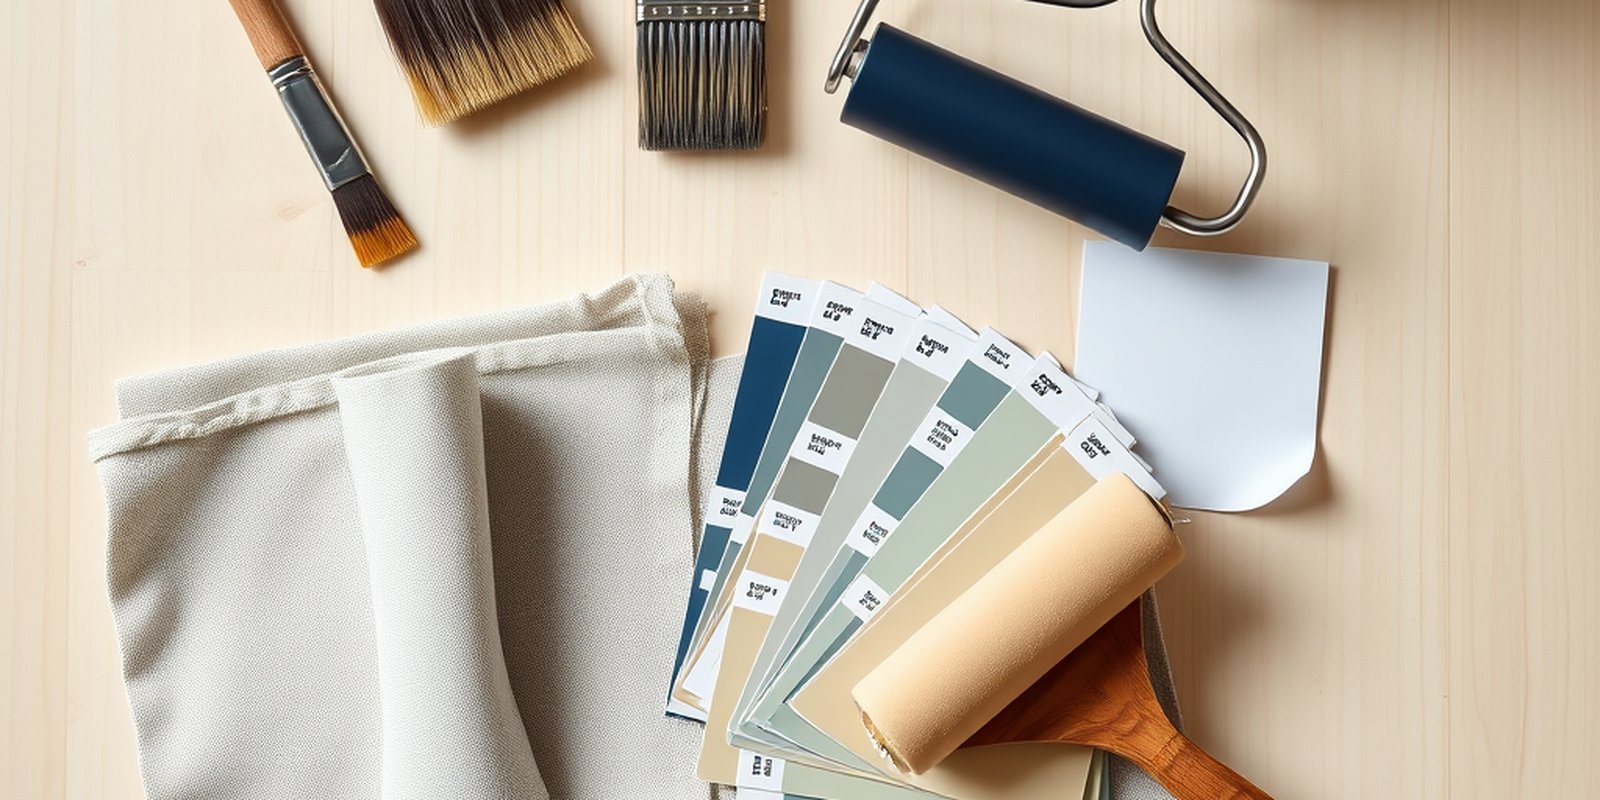
Most staining advice is written for a deck, which is a horizontal surface you walk on and look down at. A pergola flips almost all of that. The main surfaces are vertical posts and overhead beams and rafters, so gravity works against you the whole time. Stain wants to run and drip rather than sit and soak, and the wood you are coating is above your head, which is slower and more tiring than working at your feet.
A pergola also has an unusual amount of exposed end-grain. Every rafter tail, every notched beam, and every post top is a cut end where the wood fibers are open like a bundle of straws. End-grain drinks stain and, more importantly, drinks water once the pergola is in service, so those cut ends are where rot and checking start. On a deck the end-grain is mostly hidden at the board ends. On a pergola it is out in the open on display, and it needs deliberate extra attention.
Finally, a pergola sits fully in the weather with no roof over it. Sun beats down on the top of every rafter, rain and dew settle into the joints, and there is no eave to shelter any of it. That makes stain choice and the weather window you pick more important than on a partly covered structure. The prep and cleaning fundamentals that apply to any exterior wood structure carry over directly, and the deck version of that prep is a useful reference in how to prep a deck for staining.
Stain or Paint, and Which Finish for a Pergola
Stain and paint solve the pergola problem in opposite ways. Stain soaks into the wood, shows the grain, and wears by fading rather than peeling, so when it is time to refresh you clean and recoat rather than strip. Paint lays an opaque film on top that hides the wood entirely and, on a horizontal weather-exposed member, tends to trap moisture and peel from the top of the rafters where sun and water are worst. For most pergolas, a penetrating stain is the lower-maintenance, better-aging choice, which is why this guide is about staining.
Within stains, the opacity you pick is the real decision. A clear or toner shows the most wood but gives the least protection and fades fastest, because pigment is what blocks the sun. A semi-transparent exterior or deck stain is the usual sweet spot for a pergola: it still shows the grain and character of the wood while adding enough pigment to slow UV graying. A solid or opaque stain protects the longest but hides the grain and behaves more like paint. The full trade-off between opacities and how each one wears is laid out in types of wood stain explained, and it is worth reading before you commit.
Choosing the Right Stain Type
Beyond opacity, exterior stains split by their carrier, oil-based versus water-based, and that choice affects how the stain soaks in, how it weathers, and how you clean up. Both can work on a pergola, and the honest answer is that the specific product matters more than the category. The table below is a general orientation, not a rating, and you should confirm everything against the label of the stain you are considering.
| Stain type | How it behaves on a pergola | Good to know |
|---|---|---|
| Semi-transparent oil-based | Penetrates deeply, shows grain, mellow finish | Slower dry, solvent cleanup, ventilate, rag safety matters |
| Semi-transparent water-based | Penetrates, holds color, easier cleanup | Soap and water cleanup, often faster to recoat |
| Solid or opaque exterior stain | Most UV protection, hides grain, film-like | Can show wear lines on horizontal tops over time |
| Toner or clear water repellent | Most natural look, least protection | Fades fastest, expect a shorter recoat cycle |
The broader comparison of the two carriers, how they differ in penetration, odor, drying, and maintenance, is covered in water based vs oil based stain. Whichever you pick, buy enough to do the whole structure in one batch or box multiple cans together, because color can shift slightly between production lots and a pergola is very visible from below.
Tools and Materials
- Semi-transparent exterior or deck stain, enough for all four sides of every member plus the end-grain
- A quality exterior stain brush for back-brushing, plus a smaller sash brush for tight joints
- A stain pad or roller if you want speed on the long beams, always followed by a brush
- A stable stepladder or, for a tall pergola, a small scaffold or platform on firm, level ground
- Drop cloths for the patio, deck, or plants below, because overhead work drips
- Rags for wiping back excess and catching drips, plus a metal container of water for oily rags
- A stiff brush, deck cleaner or wood brightener, and a hose for prep
- Sandpaper for any rough or raised spots, and painter’s tape for adjacent surfaces
- Gloves, eye protection, and a hat, since you are looking up into falling drips all day
Prep: Clean, Dry, and Smooth the Wood
Stain only bonds well to clean, dry, sound wood, so prep decides how the finish looks and lasts. If the pergola is new bare wood, brush off the mill dust and check for any glossy mill glaze that could stop the stain from soaking in. If it is an older pergola, wash off the dirt, pollen, and gray weathered fibers with a deck cleaner or wood brightener and a stiff brush, rinse thoroughly, and let it dry out completely. Damp wood will not accept a penetrating stain, and sealing moisture inside is how you get a blotchy, failing finish.
Sand or scuff any rough, splintered, or previously coated areas so the surface is uniform, then remove every trace of dust with a brush or a dry cloth before you stain. Pay special attention to the end-grain at the rafter tails and beam cuts, knock off any splinters and make sure those open cut ends are clean, because they are about to become the thirstiest and most important part of the job.
One real safety note during prep: if your pergola or a nearby older structure was built or last coated before 1978 and you are sanding old paint or solid stain, that old finish can contain lead, and sanding it releases hazardous dust. Test the finish, follow the EPA RRP guidance, or bring in a certified professional. This is a genuine health point, not legal advice, and it is worth taking seriously on any older exterior wood.
Stain Before or After You Build?
If you are building the pergola from scratch, or replacing members, the single biggest time-saver is to stain the wood before you assemble it. Coating posts, beams, and rafters while they lie flat on sawhorses means no ladder, no overhead drips, easy access to all four sides, and a chance to fully coat the end-grain and the faces that will be hidden or hard to reach once everything is bolted together. You lay the finish down horizontally where gravity helps instead of fights you.
Pre-staining also protects the joints. The overlapping surfaces where a rafter sits on a beam trap water and are almost impossible to coat well after assembly, so staining first seals those contact faces before they are closed up. The trade-off is that you will nick some of the finish during handling and fastening, so plan to do a final touch-up coat after the pergola is standing to hit the scuffs, the fastener heads, and any freshly cut ends. For an existing pergola you cannot take apart, you simply stain in place and lean harder on ladder safety and drip control, which the next sections cover.
Test on a Hidden Spot First
Before you commit the whole structure to a color, test the stain on a scrap of the same wood or on a hidden face, like the top of a beam or the back of a post, and let it dry fully. Stain looks very different wet than dry, and it looks different on your actual weathered or new wood than it does on the store sample, because the wood’s own color and porosity change the result. A semi-transparent stain in particular shifts with how much the wood soaks up, so the only reliable preview is a dried test on your real material.
Check the dried sample in daylight, since a pergola is seen outdoors, and confirm both the color and how much grain shows through. If it is darker or more opaque than you want, you may want a lighter opacity or a single coat rather than two. Better to learn that on a scrap than on twelve rafters overhead.
Applying the Stain Overhead
Work in the shade if you can, or follow the sun around so you are never staining a surface that is hot to the touch, because hot wood flashes the stain off before it can penetrate and leaves lap marks. Stain one full member at a time from end to end, keeping a wet edge so you do not stop in the middle of a beam and leave a visible line where wet stain met dry. Move the stain along the grain, not across it, so it settles into the wood’s own direction.
Back-brushing is the key technique on a pergola. If you speed things up by rolling or padding stain onto a long beam, immediately follow with a brush worked into the grain to push the stain into the wood and even out the coat. Penetrating stain is meant to soak in, not sit on top, so wherever it puddles, especially in the joints and on the flat tops of rafters, brush it out and wipe back the excess with a rag before it gets tacky. A film of un-absorbed stain sitting on the surface will stay sticky and peel.
- Load lightly for overhead work. A dripping brush over your head floods the wood and runs down your arm, so dip less and reload more often.
- Coat the end-grain generously. Give the rafter tails and cut ends extra stain and let them drink, because those open ends are where rot starts.
- Catch drips fast. Keep a rag in hand and wipe runs on the posts and any spatter on the patio before it sets.
- Hit all four sides. The underside of a beam is the part you see from the seating below, so do not neglect it.
Ladder and Overhead Safety
Because a pergola is overhead work, footing and reach are part of the job, not an afterthought. Set your ladder or platform on firm, level ground, keep your hips between the rails instead of leaning out past them, and move the ladder rather than stretching for one more rafter. Overreaching off a ladder is one of the most common ways a simple finishing job turns into an injury. Stain and coat only as far as you can comfortably reach, then climb down and reposition.
Keep your can or pail on the ladder tray or hooked securely, not balanced in your free hand, because juggling an open container of stain overhead invites both a drip and a fall at once. Drop-cloth everything below, since gravity guarantees some spatter onto the patio, furniture, or plants. Take the overhead reach seriously and slow down for it.
Dry Weather Window and Recoating
Timing the weather is as important as the technique. Stain a pergola during a dry stretch with no rain in the forecast for long enough that the stain can set, and avoid days with heavy morning dew or high humidity that keep the wood damp. Moderate temperatures are your friend, since staining in direct midday heat flashes the finish and staining in the cold or damp slows or ruins the cure. The label will give a temperature and humidity range, and following it matters more than any calendar date.
Let each coat dry per the product’s instructions before deciding whether to add a second, and remember that a penetrating stain only takes a second coat if the wood is still thirsty, applying more than the wood can absorb just leaves a sticky film. Once the stain is fully cured, some products call for no separate sealer while others pair with a compatible clear water repellent, so follow the label rather than assuming. Do not add a film-forming topcoat that was not meant for the stain, since a trapped film on exposed exterior wood is what peels.
Common Mistakes to Avoid
- Skipping the end-grain. The cut ends drink water and rot first, so under-coating them shortens the life of the whole structure.
- Staining hot or damp wood. Both wreck penetration and leave blotches and lap marks.
- Leaving un-absorbed stain on top. Puddled stain in joints and on rafter tops stays tacky and peels, so wipe back the excess.
- Ignoring the undersides. The bottom of every beam is exactly what you look at from below, and it is the easiest part to forget.
- Chasing the sun. Coating a surface in direct sun flashes the stain off before it can soak in.
- Overreaching on the ladder. Move the ladder instead of leaning, every single time.
Maintenance and the Recoat Cycle
A pergola lives fully in the weather, so it will need refreshing on a cycle rather than once and done. Because it is horizontal and unshaded on top, the rafters and beam tops fade and weather faster than the vertical posts, so watch those first. When the color has grayed, water no longer beads, or the surface looks thirsty, it is time to clean and recoat. The good news with a penetrating stain is that maintenance is a wash and a fresh coat, not a strip-and-start-over.
How often that happens depends on your climate, the stain’s opacity, and how much sun the pergola gets, and the same recoat logic that governs a deck applies here. The realistic intervals and the signs that it is time are covered in how often to stain a deck. A pergola sits in the same technique family as a deck, so if you also have a deck to finish, the full walk-through in how to stain a deck is a close sibling worth reading, and the universal method behind all of it lives in the pillar how to stain wood.
Cost and Whether to Hire It Out
A pergola does not use a lot of stain because it is mostly open air, but the labor is heavier than the square footage suggests, thanks to the overhead reach, the four-sided members, and all that end-grain. That gap between material cost and labor effort is exactly why it helps to see real numbers before you start, so you can decide whether the ladder work is worth doing yourself.
The material and labor breakdown for a pergola specifically is in its cost twin, the cost to stain a pergola, which is the price companion to this how-to. If you would rather compare doing it yourself against hiring a pro for your exact structure, a free painting estimate gives you a tailored number, and running your dimensions through the painting cost calculator first grounds the whole decision in your real pergola rather than a generic average.
Frequently asked questions
What kind of stain is best for a pergola?
A semi-transparent exterior or deck stain is the usual pick because it shows the wood grain while adding enough pigment to slow sun graying, and it wears by fading rather than peeling. Clear toners look the most natural but fade fastest, and solid stains protect longest but hide the grain and behave more like paint on the horizontal tops. Match the carrier, oil or water-based, to how you want to apply and maintain it, and confirm everything against the product label.
Should I stain a pergola before or after assembly?
Before, if you can. Staining the posts, beams, and rafters flat on sawhorses means no ladder, no overhead drips, easy access to all four sides, and a real chance to coat the end-grain and the hidden joint faces that trap water. Then do a touch-up coat after it is standing to hit the scuffs and fastener heads. For an existing pergola you cannot take apart, stain it in place and focus on ladder safety and catching drips.
Why does the end-grain on a pergola need extra stain?
End-grain is the cut end of the wood, where the fibers are open like a bundle of straws, so it soaks up both stain and, once in service, water. The rafter tails, beam cuts, and post tops on a pergola are all exposed end-grain, and those open ends are where rot and checking start. Coat them generously and let them drink, because under-protecting the end-grain shortens the life of the whole structure.
How do I stain a pergola without dripping everywhere?
Load the brush lightly and tap off the excess, since a dripping brush over your head floods the wood and runs down your arm. Keep a rag in your free hand to wipe runs on the posts as they happen, and drop-cloth the patio, furniture, and plants below because some spatter is unavoidable overhead. Wipe back any stain that puddles in the joints or on rafter tops before it gets tacky, which also cuts down on drips.
What weather do I need to stain a pergola?
A dry stretch with no rain forecast long enough for the stain to set, no heavy morning dew, and moderate temperatures. Avoid staining in direct midday heat, which flashes the finish off before it can soak in, and avoid cold or damp days that stall the cure. The wood itself must be fully dry, so wait several days after any rain or washing. The product label gives a temperature and humidity range, and following it matters more than the date.
How often does a pergola need re-staining?
It varies with your climate, the stain’s opacity, and the sun exposure, but a pergola sits fully in the weather with no roof, so the horizontal beam and rafter tops fade fastest and set the schedule. When the color grays, water stops beading, or the surface looks thirsty, clean it and recoat. With a penetrating stain that is a wash and a fresh coat rather than a strip. The same recoat signs and typical intervals used for decks apply directly to a pergola.