In this article
- What to look for in kitchen paint
- Best sheen for a kitchen
- Paint type and features
- How many coats and prep
- Choosing the right quality of kitchen paint
- What it costs and how much you need
- Common kitchen painting mistakes
- Frequently asked questions
- What is the best paint for kitchen walls?
- Should kitchen walls be satin or semi-gloss?
- What paint should I use on kitchen cabinets?
- Can I use flat paint in a kitchen?
- How do I keep grease from staining kitchen paint?
- How many coats of paint does a kitchen need?
- Do I need a special paint for the backsplash area?
- How long before I can use my kitchen after painting?
Quick answer: The best paint for a kitchen is a durable, scrubbable interior latex applied in satin or semi-gloss, since the key property you need is a tight film that resists grease and survives repeated cleaning. Satin suits most kitchen walls, while semi-gloss is the pick for backsplash zones, trim, and walls near the stove and sink where splatter and steam land hardest.
Kitchens see grease, steam, and constant wiping, so a soft flat paint wears out fast in the hardest working room in the house. Before you buy, size the job and the budget with the paint calculator or grab a quick free painting estimate, so you can put your money into a tougher, more washable paint where it counts.
What to look for in kitchen paint
A kitchen combines moisture, airborne grease, food splatter, and frequent cleaning, which is a harder mix than almost any other room. The paint has to take all of that without dulling, staining, or wearing thin. These are the properties that solve the kitchen problem.
Scrubbability. Kitchen walls get wiped constantly, so the film has to handle a sponge and cleaner without burnishing or thinning. A premium, durable interior paint holds its color and finish through repeated scrubbing.
Grease resistance. Cooking throws a fine film of grease onto nearby walls and cabinets. A tight, higher sheen film lets that grease sit on the surface so you can wipe it off instead of letting it soak in and stain.
Moisture resistance. Boiling pots and a busy sink keep kitchen air humid. Paint with good moisture resistance, like the kitchen and bath grade lines, stands up to steam better than a basic wall flat.
Stain release. Spaghetti sauce, coffee, and grease spots are part of kitchen life. A quality paint releases stains when you clean promptly, keeping the walls looking fresh between repaints.
Low VOC and low odor. Since a kitchen is a food space, a low VOC formula keeps fumes down during and after the job, which matters when you are back to cooking soon after painting.
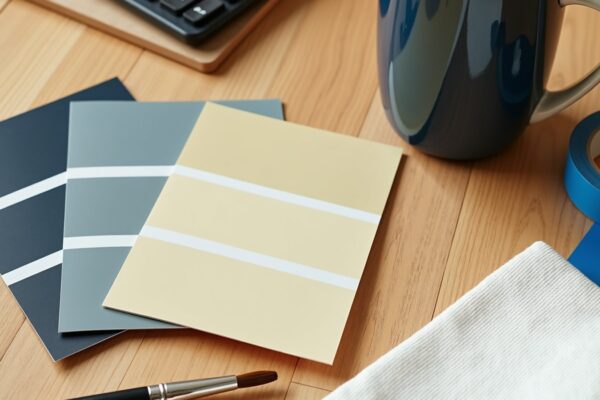
Best sheen for a kitchen
As the paint sheen guide explains, washability climbs as sheen climbs, and the kitchen is exactly where you want that washability. Flat paint is a poor kitchen choice because it absorbs grease and stains the moment you try to scrub it. You want a sheen with a tight enough film to wipe clean again and again.
Satin is the sweet spot for most kitchen walls. It cleans well, hides minor flaws better than semi-gloss, and avoids a hard shine across a large space. For walls near the stove and sink, around a backsplash, and on trim and doors, semi-gloss gives you extra scrub power and grease resistance where splatter is heaviest. Cabinets typically go a step further into semi-gloss or gloss enamel for a hard, wipeable finish.
One thing that surprises people is how little actual wall space a kitchen has compared to its size. Cabinets, the backsplash, appliances, and windows take up most of the lower and upper surfaces, leaving only narrow strips of paintable wall. Because those strips often sit right next to the busiest zones, it can make sense to paint all of the kitchen wall in semi-gloss rather than splitting sheens. The smaller the wall area, the less the slightly higher shine matters, and the more the extra cleanability pays off.
Paint type and features
For kitchen walls, a quality water based latex or acrylic interior paint, ideally one labeled for kitchens and bathrooms, is the right type. These lines combine the scrubbability, grease resistance, and moisture tolerance a kitchen demands, and they clean up with water. The latex vs oil based paint guide explains why water based is the modern default for walls.
For cabinets, the choice shifts toward a hard wearing cabinet and trim enamel that levels into a smooth, durable shell, since cabinet doors take constant handling and grease. A mildew resistant additive is a useful feature near the sink and any damp corner. Keep VOC low for a food space, and where stains or old grease are heavy, spot prime with a stain blocking primer before topcoating. Stick to real kitchen grade and enamel product categories rather than a basic builder flat, and the finish will earn its keep.
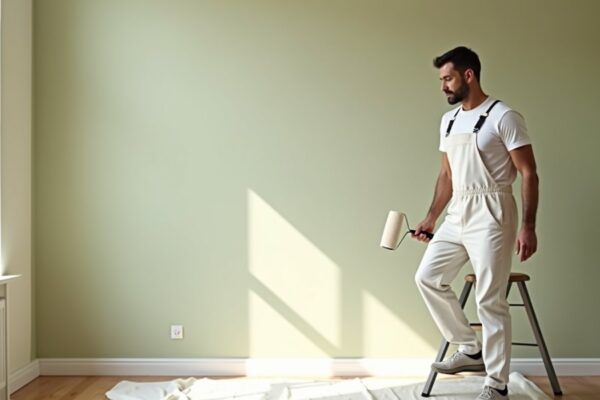
Cabinet painting is its own small project and the most common kitchen refresh, so it is worth a closer look. The enamels made for cabinets and trim are formulated to level out brush marks and cure into a hard, chip resistant shell that survives daily door slams and greasy fingers. The same care that makes trim look smooth applies to cabinets, so much of the cabinet and trim advice in the best paint for trim and doors guide carries straight over. Degreasing and a bonding primer are non negotiable, because grease and old varnish will reject paint that is brushed on without them.
How many coats and prep
Most kitchen walls take two coats of a quality paint for an even, washable finish, and rich colors or a big color change can need a third. Cabinets almost always need two coats of enamel plus a primer coat for adhesion. Plan it all with the how many coats of paint do I need guide so you buy enough in one trip.
Prep is critical in a kitchen because grease ruins adhesion. Degrease the walls and any cabinet surfaces thoroughly, sand glossy areas to give new paint a grip, and fill dents and nail holes. Prime bare drywall, stained spots, and any surface you degreased, especially cabinets, so the topcoat bonds. The do I need primer before painting guide helps you decide where primer pays off, and the how to prep walls for painting guide covers the cleaning and patching steps that keep a kitchen finish from peeling.
Cabinets need patience between coats and after the final coat. Enamel can feel dry to the touch long before it has fully cured into its hard, chip resistant shell, and that full cure can take a week or more. Rehanging doors and loading shelves too soon is the main reason home painted cabinets chip at the edges. Plan the project for a stretch when you can leave the cabinets undisturbed, and the finish will reward you with years of durability.
Choosing the right quality of kitchen paint
Kitchen paint is another place where stepping up from builder grade to a premium line is worth it, because the room asks so much of the finish. A premium kitchen and bath grade paint carries more binder and better stain release, so grease and food splatter wipe off instead of soaking in, and the color holds through repeated scrubbing. On the limited wall area most kitchens have, the cost of going premium is small next to the time you save not repainting.
For cabinets, treat the enamel as the most important purchase in the project. A quality cabinet and trim enamel levels into a smooth, hard finish and resists the constant handling that cabinet doors get, which a basic wall paint simply cannot match. Pair it with a proper bonding primer and you have a system built for the job. As with walls, the goal is the right category and sheen first, then quality within that category, rather than the highest price tag in the wrong product.
What it costs and how much you need
Kitchen wall area is often modest because cabinets, appliances, and the backsplash take up so much of it, so the wall paint quantity can be small. Cabinets are the bigger paint and labor item. Estimate cabinet paint with the how much paint for kitchen cabinets guide, since doors, frames, and both sides of each door add up faster than people expect.
For the full job, including walls, cabinets, trim, and labor if you hire out, walk through the cost to paint a kitchen guide. Pairing the cabinet quantity estimate with the kitchen cost estimate keeps you from underbuying enamel or undercounting the time it takes to do cabinets right.
Common kitchen painting mistakes
The biggest kitchen mistake is skipping the degrease. Cooking coats nearby walls and cabinets in a thin, almost invisible film of grease, and paint will not bond to it. People brush fresh paint over greasy cabinets, then watch it peel within weeks. Clean every surface with a degreasing cleaner, rinse, and let it dry before you prime or paint, especially on cabinets and the walls behind the stove.
The second mistake is using flat wall paint to save money in the room that gets dirtiest. Flat absorbs grease and steam and stains the moment you scrub it, so it fails fast in a kitchen. Step up to a satin or semi-gloss kitchen grade paint and the walls will wipe clean for years. The small upgrade in sheen and quality is cheaper than repainting.
A third slip is painting cabinets without a bonding primer or proper drying time. Cabinet doors get handled constantly, and enamel needs to cure hard before it can take that abuse. Prime for adhesion, apply thin even coats, and give the enamel its full cure time before rehanging doors and loading shelves. Rushing this step is the main reason home painted cabinets chip at the edges.
Frequently asked questions
What is the best paint for kitchen walls?
A quality water based interior latex or acrylic, ideally one labeled for kitchens and bathrooms, is best for kitchen walls. Apply it in satin for most walls and semi-gloss near the stove, sink, and backsplash. These lines resist grease and moisture and scrub clean without dulling.
Should kitchen walls be satin or semi-gloss?
Satin is the best all around choice for kitchen walls because it cleans well and hides minor flaws. Use semi-gloss on walls near the stove and sink, around the backsplash, and on trim, where splatter and grease are heaviest and you need extra scrub power.
What paint should I use on kitchen cabinets?
Use a hard wearing cabinet and trim enamel in semi-gloss or gloss, applied over a bonding primer. Cabinet enamels level into a smooth, durable shell that handles constant touching and grease. Degrease and lightly sand the cabinets first so the paint adheres and does not chip.
Can I use flat paint in a kitchen?
Flat paint is a poor kitchen choice because it absorbs grease and steam and stains when you scrub it. Step up to satin or semi-gloss so the film resists grease and cleans easily. The small upgrade in sheen prevents an early repaint in this high use room.
How do I keep grease from staining kitchen paint?
Choose a higher sheen, scrubbable paint so grease sits on the surface, then wipe walls regularly before grease builds up. Degrease thoroughly before painting and prime any heavily soiled areas with a stain blocking primer. Good ventilation while cooking also cuts down the airborne grease that lands on walls.
How many coats of paint does a kitchen need?
Most kitchen walls take two coats of a quality paint, and a big color change can need a third. Cabinets typically need a primer coat plus two coats of enamel for a durable finish. Plan your coats with the coats guide so you buy enough paint at once.
Do I need a special paint for the backsplash area?
Painted backsplash zones see the heaviest splatter, so use a scrubbable semi-gloss there even if the rest of the wall is satin. That said, areas right behind the stove and sink are often tiled instead, since tile handles direct grease and water better than any wall paint. Where it is painted, lean toward the higher sheen.
How long before I can use my kitchen after painting?
Walls are usually fine to be near within a day, but cabinets need much longer because the enamel must fully cure before it takes daily handling. Plan to leave painted cabinets undisturbed for several days, and wait a week or more before loading shelves and slamming doors, so the hard finish has time to set.
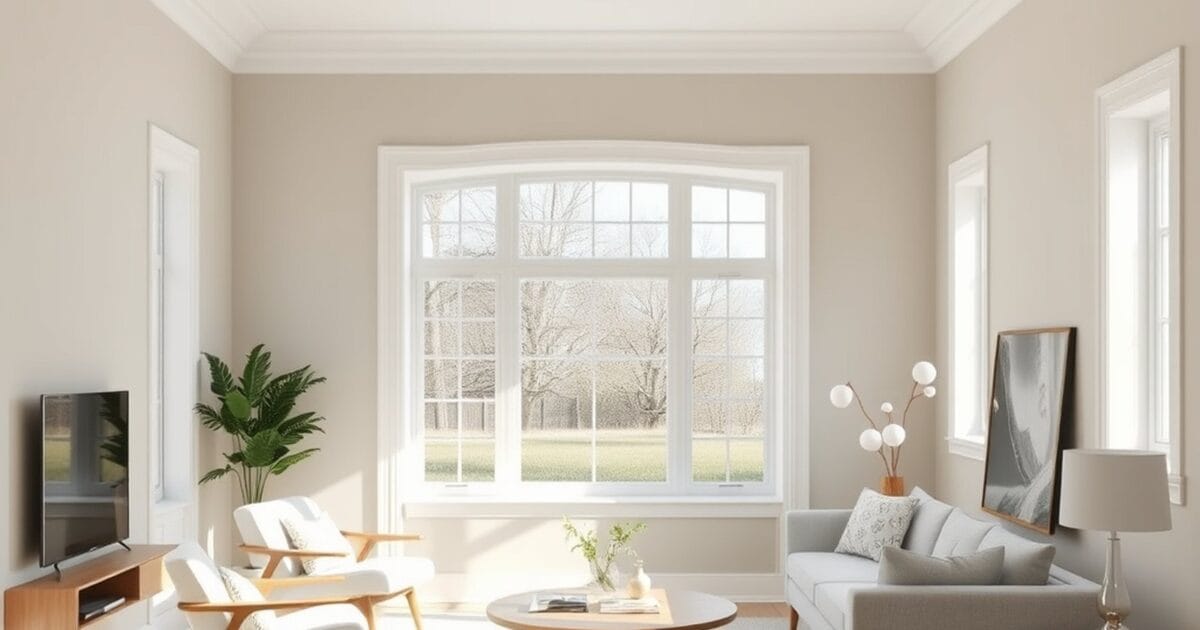
Sorted the product? See the best paint colors for a kitchen.