
In this article
- What Makes Shutters Tricky: Material Drives Everything
- Vinyl And PVC Shutters
- Wood Shutters
- Metal And Aluminum Shutters
- Sheen, Color, And The Dark-Color Rule
- The Pro Trick: Remove Them And Spray On Sawhorses
- Handling The Louvers And Hardware
- Weather And Application Timing
- How Much Paint And What It Costs
- DIY Versus Hiring A Pro
- Frequently asked questions
Quick answer: The best paint for shutters depends on the material: vinyl and PVC need a vinyl-safe 100% acrylic, wood needs an exterior acrylic or alkyd enamel over primer, and metal needs a DTM acrylic over rust-inhibitive primer, all in satin or semi-gloss. The make-or-break rule is never paint vinyl darker than the original.
Shutters are small, but they set the whole curb-appeal tone of a house, and the right paint choice comes down entirely to what they are made of. The same can of paint that is perfect for wood shutters can warp vinyl ones, and metal shutters want a different system again. This guide sorts it out by material, covers the sheen and color rules, explains the prep and primer gate for each type, and shares the pro trick that gives shutters their best finish. To size paint and cost for your set, start with our painting cost calculator.
What Makes Shutters Tricky: Material Drives Everything
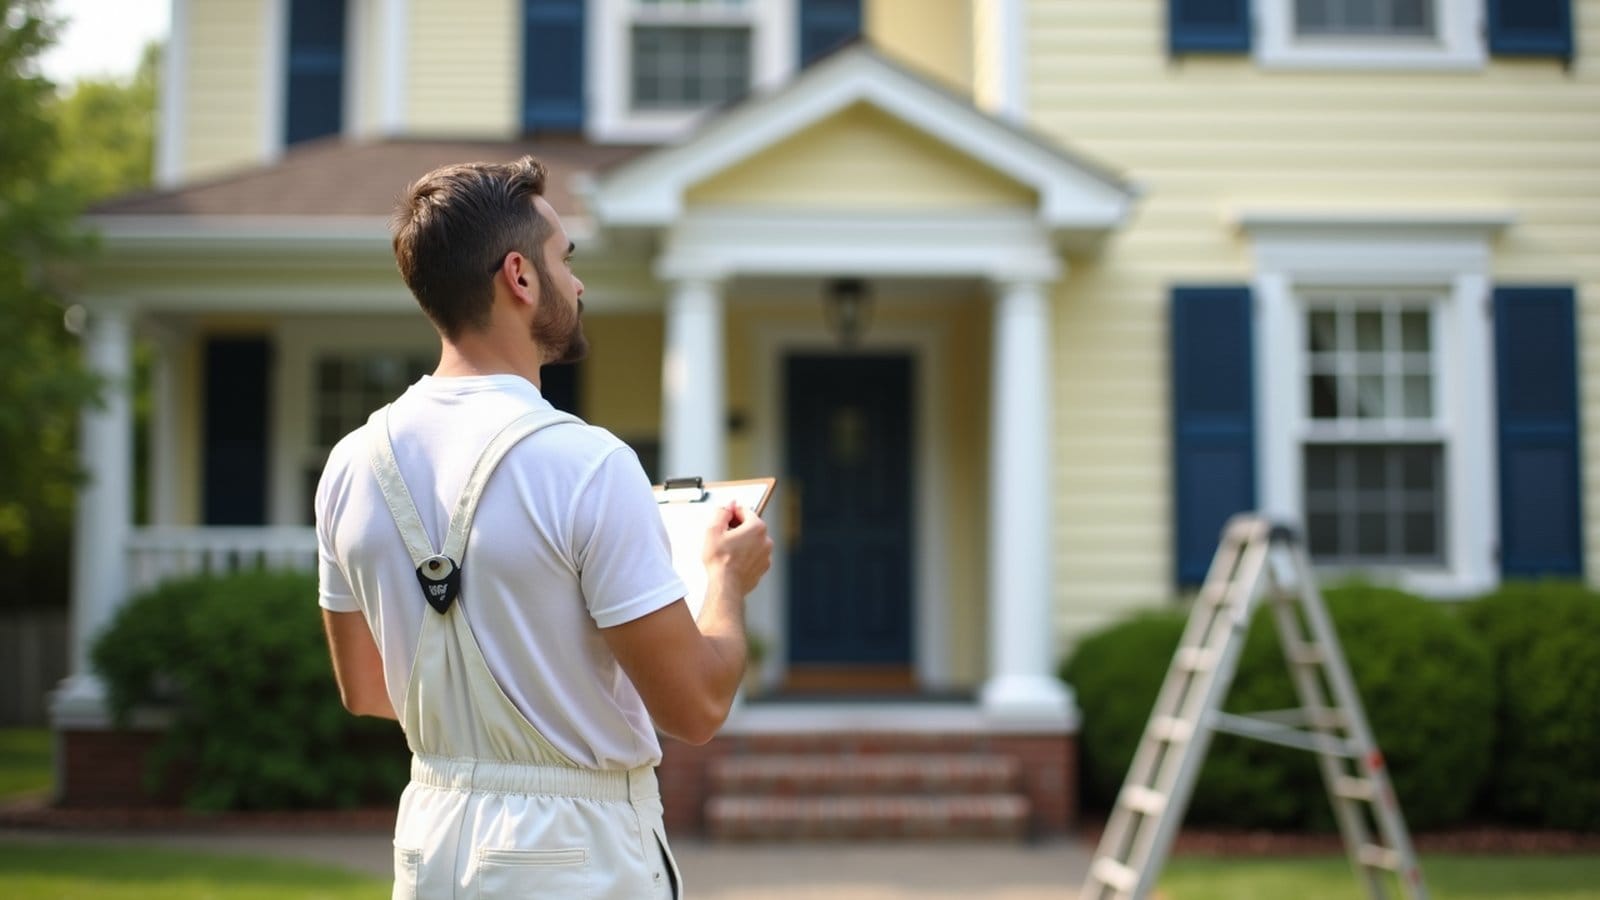
The reason shutters trip people up is that the word covers three very different surfaces. The most common are molded vinyl or PVC shutters, which are lightweight plastic that expands with heat. Then there are wood shutters, a porous material that needs sealing and priming like any exterior woodwork. And there are metal or aluminum shutters, often louvered, which behave like any other exterior metal. Each material has its own adhesion and movement behavior, so there is no single best shutter paint, only the best paint for the material you have.
Get the material wrong and you get a specific, predictable failure. Use a heat-absorbing dark color on vinyl and it buckles. Skip the primer on bare wood and the finish flakes and the end grain wicks moisture. Paint slick metal without an etching or bonding step and it peels. So the first job is simply to identify the material, and the rest of this guide follows from that. Shutters also have deep louvers and profiles that trap paint and drips, which is why removal and spraying, covered below, gives such a better result.
Vinyl And PVC Shutters
Vinyl is the most common shutter material and the one with the strictest rule. Use a vinyl-safe 100% acrylic exterior paint, the same category made for vinyl siding, because it is formulated to flex with the plastic and bond to it. The critical rule is never paint vinyl shutters a color darker than the original, because a darker color absorbs more heat, and vinyl warps, buckles, and distorts when it gets hot. This is why paint makers sell vinyl-safe “vinyl renewal” color ranges that stay within a safe heat-reflectance limit. Stick to a color at or lighter than the original, or to a specifically vinyl-rated shade.
Prep for vinyl is light but not optional. Clean off dirt, chalk, and mildew, give the surface a light scuff to improve grip, and let it dry fully. Vinyl-safe acrylics are usually formulated to bond without a separate primer, so avoid a rigid primer that would not flex with the plastic. The same logic and color limits are covered in depth in our guide to the best paint for vinyl siding, which is the closest sibling to a vinyl shutter.
Wood Shutters
Wood shutters are the traditional choice and take paint well, but as a porous, moving material they need sealing and priming to last outdoors. Use a quality exterior acrylic enamel or an exterior alkyd enamel for a hard, smooth, durable finish that stands up to sun and rain. Over an exterior primer, both give a tough coat, with acrylic offering easy cleanup and flexibility and alkyd giving an extra-hard, self-leveling finish that many people like on trim-grade woodwork. The key detail people miss is to seal the end grain, the cut top and bottom edges and any joints, because bare end grain wicks water and is where wood shutters rot and peel first.
Prime bare or previously failed wood with an exterior stain-blocking or bonding primer so the topcoat adheres and tannins do not bleed through, then apply two finish coats. For the general question of when a primer is required, see whether you need primer before painting. If the shutters are old, treat pre-1978 coatings as possible lead and do not dry-sand them; the EPA lead program explains the safe-practice rules for older painted wood.
Metal And Aluminum Shutters
Metal shutters, usually aluminum and often louvered, follow the same rules as any exterior metal. Use a direct-to-metal (DTM) acrylic, or a 100% acrylic exterior paint over a rust-inhibitive metal primer, so the coating bonds to the slick surface and resists corrosion. Aluminum that has oxidized into a chalky film must be washed clean first, the same way aluminum siding is, or the paint bonds to powder and peels. Clean, scuff the glossy or factory finish for tooth, and prime bare or rusted spots before the topcoat. Our guide to the best paint for metal covers the DTM and primer approach in full, and it applies directly to metal shutters.
Sheen, Color, And The Dark-Color Rule
Satin or semi-gloss is the standard for shutters across all three materials. Semi-gloss gives shutters a crisp, traditional, wipeable finish that plays off the siding, while satin is a softer look that hides surface imperfections a little better. A flat finish is generally too dull and less durable for an accent piece that gets full weather. Our paint sheen guide covers the durability-versus-hide balance if you want to choose deliberately.
Color is where shutters shine, since they are the accent that pops against the body color, and deep classic shades like black, charcoal, and forest green are perennial favorites. Two cautions apply. On vinyl, the dark-color heat rule is absolute: do not go darker than the original unless the paint is specifically vinyl-safe rated for that shade, or the shutters will warp. On any material, very dark colors run hotter and fade faster in direct sun. Because shutters often coordinate with the front door, our guide to the best paint for a front door is a useful companion for pairing accent colors, along with how to choose exterior paint colors for the whole facade.
The Pro Trick: Remove Them And Spray On Sawhorses
The single best thing you can do for shutter finish quality is take them off the house and paint them flat on sawhorses, ideally with a sprayer. Shutters are covered in deep louvers, slats, and profiles that trap brush marks and cause drips and runs when painted vertically in place. Laid flat and sprayed, or carefully brushed, you get an even, factory-smooth coat with full coverage down into the louvers, and you can do both sides and the edges without fighting gravity. It also lets you seal the end grain on wood shutters properly and prime evenly. Removing them takes time and you have to manage the hardware, but the finish and durability payoff is large, which is why pros almost always do it this way.
Handling The Louvers And Hardware
Louvered shutters are the fiddly part of any shutter job, because the angled slats trap paint and create drips no matter how careful you are with a brush held vertically. The trick, beyond removing them and laying them flat, is to work the louvers first and the flat frame second: paint into the slats with an unloaded, nearly dry brush so you deposit color without pooling, then come back and finish the smooth stiles and rails. Keep a dry brush handy to sweep out any drips that gather at the bottom edge of each slat before they set. On the hardware side, either remove the hinges and shutter dogs before painting for the cleanest result, or mask them carefully, and let each coat cure fully before you rehang so you do not press wet paint against the siding or trap tackiness in the louvers.
Weather And Application Timing
Whether you spray them off the house or paint them in place, exterior shutters want a dry, mild weather window. Avoid direct hot sun on metal and vinyl, which flash-dries the coating and can warp vinyl further, and do not paint when rain or heavy dew is due within the drying window. Let each coat cure before rehanging so you do not mar the finish or trap tackiness against the wall. Our guide to the best weather conditions for exterior painting covers the temperature and humidity window that applies to all three shutter materials.
How Much Paint And What It Costs
Shutters use little paint per pair, but pricing is often quoted per unit because the labor is in the detail: masking or removing, prepping the louvers, and getting even coverage into the profiles. A house with many windows adds up fast even though each pair is small. Rather than rely on a fixed figure, size your set with our cost calculator, and for the labor of a full exterior get a free painting estimate. For the deeper project math on this surface, see our companion pages on the cost to paint shutters, roughly how much paint you need for shutters, and, if you price jobs, how much to charge to paint shutters. Treat any number as a typical per-unit range that varies with material, condition, and local rates.
DIY Versus Hiring A Pro
Shutters are one of the more DIY-friendly exterior projects, especially if you can remove them and paint them at a comfortable height in the shade, since the work is then small-scale and low-risk. The main effort is in the prep and in identifying the material so you pick the right paint and, for vinyl, the right color. A pro is worth it mainly when the shutters are high up and awkward to remove, when there are many of them, or when you want a sprayed, flawless finish across a big facade. Weigh a quote against your own weekend using the calculator and a couple of local estimates, and remember that getting the material and color right matters more than who holds the brush.
Frequently asked questions
What is the best paint for vinyl shutters?
A vinyl-safe 100% acrylic exterior paint, the same category made for vinyl siding, because it flexes with the plastic and bonds to it. The critical rule is to never choose a color darker than the original unless it is specifically vinyl-safe rated, because dark colors absorb heat and warp vinyl shutters.
Can I paint vinyl shutters a darker color?
Only if the paint is a vinyl-safe formula rated for that darker shade. A standard darker color absorbs more heat, and vinyl warps, buckles, and distorts when it gets hot. Paint makers sell vinyl-safe color ranges that stay within a safe heat limit, so stick to those or to a color at or lighter than the original.
Do I need to prime shutters before painting?
It depends on the material. Bare or previously failed wood needs an exterior stain-blocking primer, and bare or rusted metal needs a rust-inhibitive primer. Vinyl shutters usually need no separate primer, just a vinyl-safe acrylic that flexes with the plastic, so avoid a rigid primer that would not flex with it.
What paint works on metal or aluminum shutters?
A direct-to-metal acrylic, or a 100% acrylic exterior paint over a rust-inhibitive metal primer. Wash off any chalky oxidation first, scuff the slick finish for grip, and prime bare or rusted spots so the coating bonds and resists corrosion instead of peeling off the smooth metal.
Is it better to spray or brush shutters?
Spraying gives the best finish because shutters have deep louvers and profiles that trap brush marks and drips. Remove them from the house and spray them flat on sawhorses for even, factory-smooth coverage down into the slats. Careful brushing works too, but spraying off the wall is the pro approach.
What sheen should shutters be?
Satin or semi-gloss. Semi-gloss gives a crisp, traditional, wipeable finish that contrasts nicely with the siding, while satin is softer and hides minor surface flaws a bit better. A flat finish is usually too dull and less durable for an accent piece that takes full sun and weather.