In this article
- What Limewash Looks Like On Brick
- Limewash Versus Masonry Paint
- Tools And Materials You Will Need
- Prep: Clean And Dampen The Brick
- Mixing The Limewash
- Step By Step: Applying Limewash
- Interior Fireplace Versus Exterior Facade
- Common Mistakes And How To Fix Them
- Sealing, Durability, And Maintenance
- DIY Versus Pro And Effort Level
- Frequently asked questions
Quick answer: To limewash brick, clean and dampen the brick, brush on thin coats of slaked-lime limewash or mineral paint, and rag or wipe some back while wet for the aged look. The make-or-break step is dampening the brick first so the lime bonds and cures instead of powdering off. Lime is caustic, so wear gloves and eye protection.
Limewash gives brick that soft, chalky, weathered, old-world look you see on European farmhouses and updated fireplaces. Unlike paint, which sits on top as a film, true limewash soaks into the masonry and cures as part of it, leaving a breathable matte finish with gentle color variation. This guide covers the honest prep, the mixing, the coats, and how to distress the finish back for an aged effect, plus the real safety facts about working with caustic lime. If you are also weighing the whole project budget, our painting cost calculator helps you size the material for your wall or facade.
What Limewash Looks Like On Brick
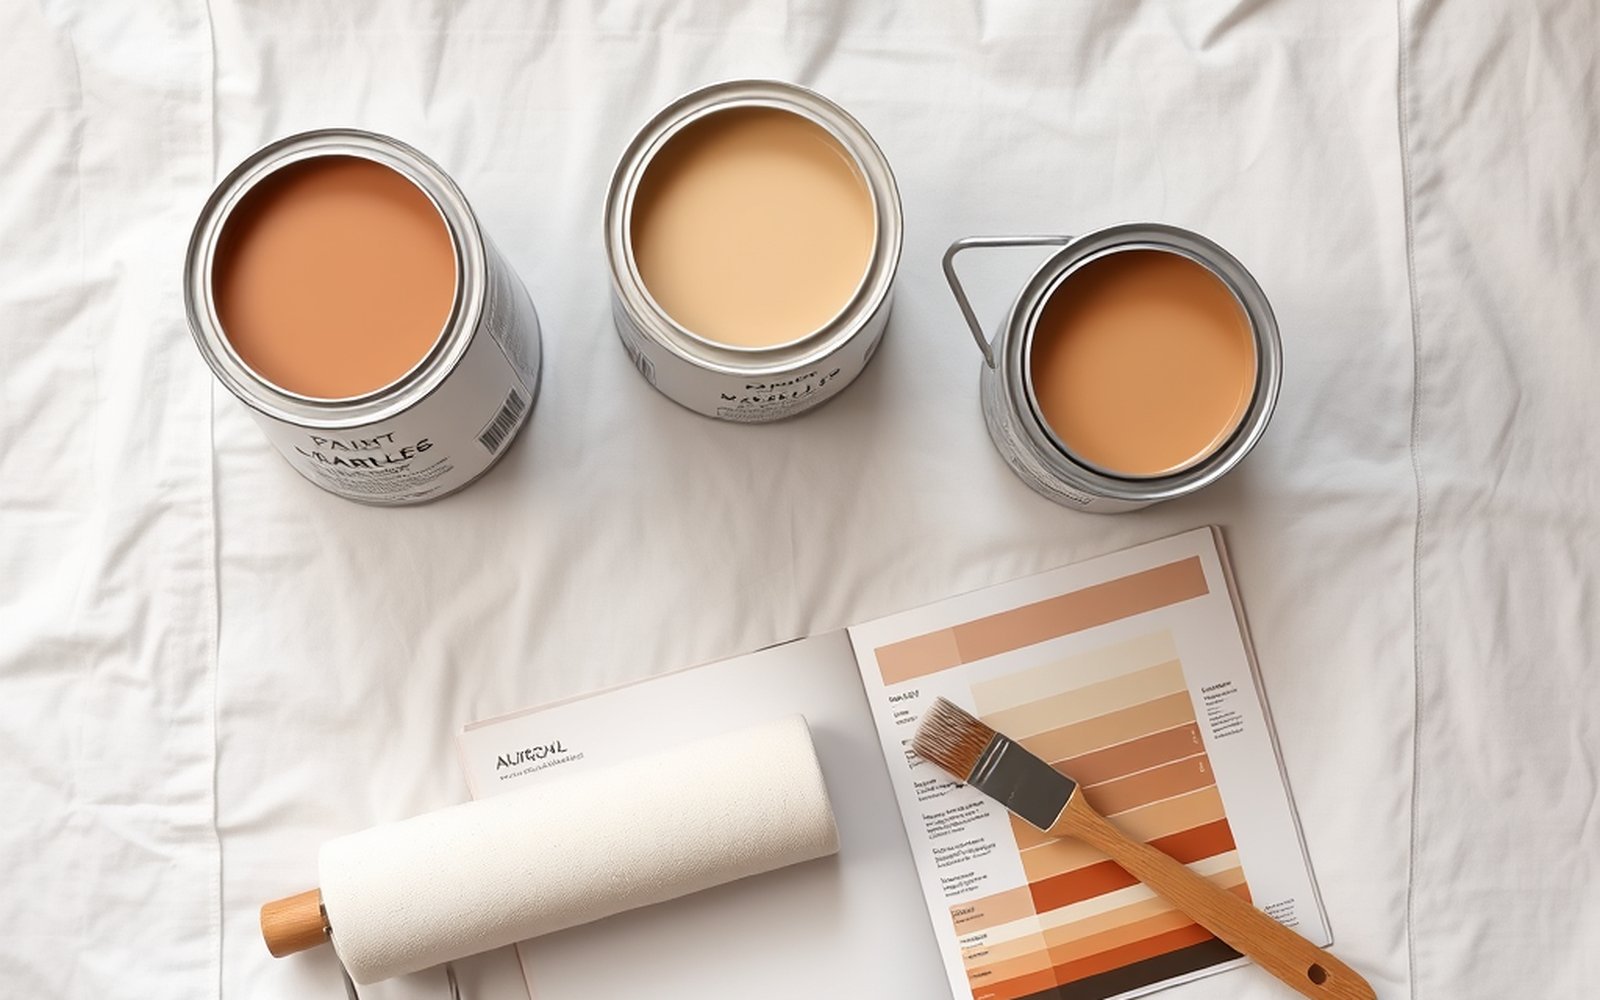
Limewash on brick reads as a soft, matte, slightly cloudy veil of color that still lets some of the brick texture and tone show through. It is not opaque like paint. Depending on how many coats you apply and how much you wipe back, you can get anything from a barely-there whitewash that lightens the brick, to a nearly solid mineral coat. The finish ages gracefully, developing a patina rather than peeling, because there is no plastic film to fail.
It suits unsealed, porous brick best, both interior fireplaces and accent walls and exterior facades. It does not suit sealed, painted, or glazed brick, because limewash needs to soak into raw masonry to bond. If your brick already has a coat of sealer or paint, limewash will not penetrate and will simply flake, so that surface calls for a masonry paint instead. For the product-selection side of that decision, see our guide on the best paint for brick.
Limewash Versus Masonry Paint
Be clear on which product you are using, because they behave differently. True limewash is a slaked-lime coating that penetrates and cures into the brick, stays breathable, and can be distressed back or reapplied. Mineral paint is a related breathable option that sits a little more on the surface. Standard acrylic masonry paint forms a film, is more opaque and durable, and is much harder to remove later. This guide is about the lime and mineral approach for the authentic matte, aged look.
One honest warning up front: limewash on brick is close to permanent. Once the lime cures into porous masonry it is very difficult to fully remove, and you generally live with it, refresh it, or paint over it rather than strip it. Treat this as a commitment, and always test on a small, hidden patch of the actual brick first.
Tools And Materials You Will Need
You do not need much, and most of it is inexpensive. Gather a slaked-lime limewash or a breathable mineral paint in your chosen color, plus clean water for dampening and for thinning. For application use a masonry brush or a large blockbrush with coarse bristles, which holds the thin wash and works it into the texture. Keep rags and a damp sponge on hand for distressing and cleanup. Have a bucket for mixing, a stir stick, and a spray bottle or garden sprayer to dampen the brick.
For safety, and this is not optional, wear chemical-resistant gloves, sealed eye protection, and old long sleeves. Lime is caustic and will irritate or burn skin and eyes. Work with ventilation, especially indoors, and keep the area clear of pets and kids while you work.
Prep: Clean And Dampen The Brick
Prep is where limewash succeeds or fails. Start by cleaning the brick thoroughly to remove dust, soot, efflorescence, cobwebs, and any loose mortar. A stiff brush and plain water handle most interior brick. For a sooty fireplace or a grimy exterior, wash it down and let it dry. The surface must be sound and free of anything that would stop the lime from bonding. If the brick was ever sealed or painted, limewash will not take, so confirm it is raw and porous.
Now the single most important step: dampen the brick before you apply. Mist the wall with clean water until it is damp but not dripping. Damp masonry slows the cure, pulls the lime in, and lets it bond and carbonate properly instead of drying too fast and powdering off. On a hot day or a thirsty old brick you may need to re-mist as you go. This mirrors the general principle in our wall prep guide: a clean, correctly prepared surface is what makes any finish stick. If your home predates 1978, treat old coatings as possible lead and do not dry-sand or grind them; the EPA lead program explains safe practices.
Mixing The Limewash
If you are using a ready slaked-lime product, stir it thoroughly and thin with clean water to the consistency of skim milk for the first coats. Limewash is meant to go on thin and translucent, building up over multiple coats, not slathered on thick. A too-thick coat is more likely to crack or powder. Follow the maker’s water ratio as a starting point and adjust after your test patch. Tinted limewash uses lime-stable pigments, so use the color the product is sold in rather than adding random craft tint. Stir often as you work, because the lime settles fast and the color rides in the suspension.
Step By Step: Applying Limewash
Work in a shaded area or out of direct hot sun so the wash does not flash-dry. Apply in thin coats and build the look gradually.
- Re-dampen the section. Mist the area you are about to coat so it is damp again. Dry brick drinks the wash too fast and leaves a powdery, weak film.
- Brush on the first thin coat. Load the masonry brush and work the wash into the brick and mortar joints with loose, crisscrossing strokes. Cover fully but keep it thin and translucent. Do not worry about perfect evenness, variation is the charm.
- Let it cure between coats. Limewash lightens dramatically as it dries and carbonates, so the wet color is not the final color. Let each coat dry, typically several hours to overnight depending on temperature and humidity, before judging it.
- Add coats to reach your opacity. One coat gives a light, sheer wash. Two or three build a more solid, opaque mineral look. Stop when you like the coverage.
- Distress while workable for the aged look. This is the signature move. On a coat that is still damp, wipe or rag some limewash back off the high points of the brick with a damp sponge or cloth, letting more brick show through in spots. This creates the mottled, weathered, old-world patina rather than a flat solid coat.
Interior Fireplace Versus Exterior Facade
The technique is the same, but the two settings differ in practice. An interior fireplace or brick accent wall is the friendliest place to start: it is a contained area, out of the weather, and easy to reach, so you can take your time distressing the finish exactly how you want it. Protect the hearth, floor, and any mantel with drop cloths, and ventilate the room while the lime cures. An exterior facade is a much bigger, more physical job. You are working on ladders or scaffolding, chasing shade around the building through the day, and contending with wind that dries the wash faster and sun that flash-cures it. Plan an exterior in sections you can finish before the surface dries, work the shaded side, and pick a mild, dry stretch of weather so the lime carbonates slowly and bonds well. Rain within the first day or two can wash a fresh coat off, so watch the forecast. Temperature matters too: very cold or very hot conditions interfere with how the lime cures, so aim for mild days and avoid limewashing in freezing weather or blazing midday heat on a south-facing wall.
Common Mistakes And How To Fix Them
The most common failure is powdering or dusting, where the cured wash rubs off as chalk. It usually means the brick was not dampened, the mix was too thick, or the surface was sealed. Re-dampen and reapply thin coats on raw brick to fix it. Cracking and flaking point to coats that were too heavy or applied over a non-porous surface. Blotchy, harsh contrast usually means you distressed unevenly or let the wash dry before wiping, so work smaller sections and keep the rag damp. If the color looks wrong, remember it lightens a lot as it cures, so always judge a dried test patch before committing the whole wall.
Sealing, Durability, And Maintenance
Traditional limewash is usually left unsealed, because its breathability and self-healing patina are the point, and a film-forming sealer can trap moisture and defeat that. Cured limewash is durable in its own way: it does not peel like paint, it weathers. On exteriors it slowly softens over years and is simply refreshed with another coat when you want to renew it, no stripping required. Interior fireplace and accent walls hold up well with almost no maintenance beyond occasional dusting. If a spot ever looks worn or you want to shift the tone, you can simply brush another thin coat over it, since limewash bonds to itself without any sanding or stripping first, which is one of its quiet advantages over film-forming paint. If you specifically need more washability indoors, a mineral paint version is a little more robust than pure limewash, but accept that you are trading some of the authentic soft matte look.
DIY Versus Pro And Effort Level
Limewashing brick is one of the more DIY-friendly decorative finishes, because the wash is forgiving and variation hides mistakes. The effort is moderate: the brushing is easy, but a full exterior facade is physical, time-consuming work, and the caustic-lime handling demands care. A small interior fireplace is a weekend project for most people. A whole house exterior is a bigger job where a pro saves you time and ladder risk. To weigh it, compare a quote against your own weekend using our cost calculator or a free painting estimate, and see our companion breakdown on the cost to paint a brick house for the full-facade math. If you love the soft layered look but want it on drywall instead of brick, the gentler color wash walls technique gives a similar feel indoors, and this whole family of finishes is mapped in our guide to decorative paint finishes.
Frequently asked questions
Is limewash permanent on brick?
Close to it. Once slaked lime cures into porous brick it is very hard to fully remove, so treat it as a long-term commitment. You can refresh it with more coats, distress it back a bit, or paint over it later, but stripping it off cleanly is not really practical.
Do I need to seal limewash on brick?
Usually no. Traditional limewash is left unsealed so it stays breathable and develops a patina, and a film sealer can trap moisture and undermine that. If you want more durability indoors, use a mineral paint version rather than sealing pure limewash over the top.
Can I limewash over painted or sealed brick?
Not successfully. Limewash needs to soak into raw, porous masonry to bond, so it will flake off sealed or painted brick. Those surfaces call for a masonry paint instead. Always test a small hidden patch first to confirm your brick is raw enough to take the wash.
Why is my limewash powdering or rubbing off?
Powdering usually means the brick was not dampened before you applied, the mix was too thick, or the surface was not porous. Re-dampen raw brick, thin the wash, and apply in thin coats so the lime can bond and carbonate properly as it cures instead of drying to loose chalk.
How many coats of limewash does brick need?
One thin coat gives a sheer, whitewashed look with lots of brick showing. Two or three coats build a more solid, opaque mineral finish. Because limewash lightens as it dries, apply a coat, let it cure, judge it, then add more until you reach the opacity you want.
Is limewash safe to use indoors?
Yes, with precautions. Lime is caustic, so wear gloves and eye protection and ventilate the room, but limewash itself is low-odor and low-VOC once cured. Protect floors and furnishings, keep pets and kids away while you work, and wash any splashes off skin promptly.
Some customers asking about limewash really want the wall protected from water. For painters, clear water repellents are a separate service with their own risks, covered in how to price masonry sealing.