In this article
- What A Color Wash Looks Like
- Choosing Your Base And Glaze Colors
- Tools And Materials
- Prep And Base Coat
- Mixing The Glaze
- Step By Step: The Color Wash Technique
- Rag, Brush, Or Sponge: Choosing Your Applicator
- Common Mistakes And How To Fix Them
- Sealing And Durability
- DIY Versus Pro And Effort Level
- Frequently asked questions
Quick answer: To color wash walls, roll a solid base coat, mix a tinted glaze with acrylic glaze medium, then brush or rag the glaze over the base in a loose crosshatch so the base shows through for soft, layered color. The make-or-break step is keeping a wet edge and working in sections so the glaze blends without hard lines.
Color washing is one of the easiest and most forgiving decorative finishes, which makes it a great first project. You lay a solid base color, then float a thin, translucent tinted glaze over it in loose, crossing strokes. The base peeks through the glaze and the result is soft, cloudy, sunlit, plaster-like color with real depth instead of one flat tone. This guide covers the base coat, the glaze ratio, the crosshatch technique, keeping a wet edge, and sealing. To size the paint and glaze for your room, start with our painting cost calculator.
What A Color Wash Looks Like
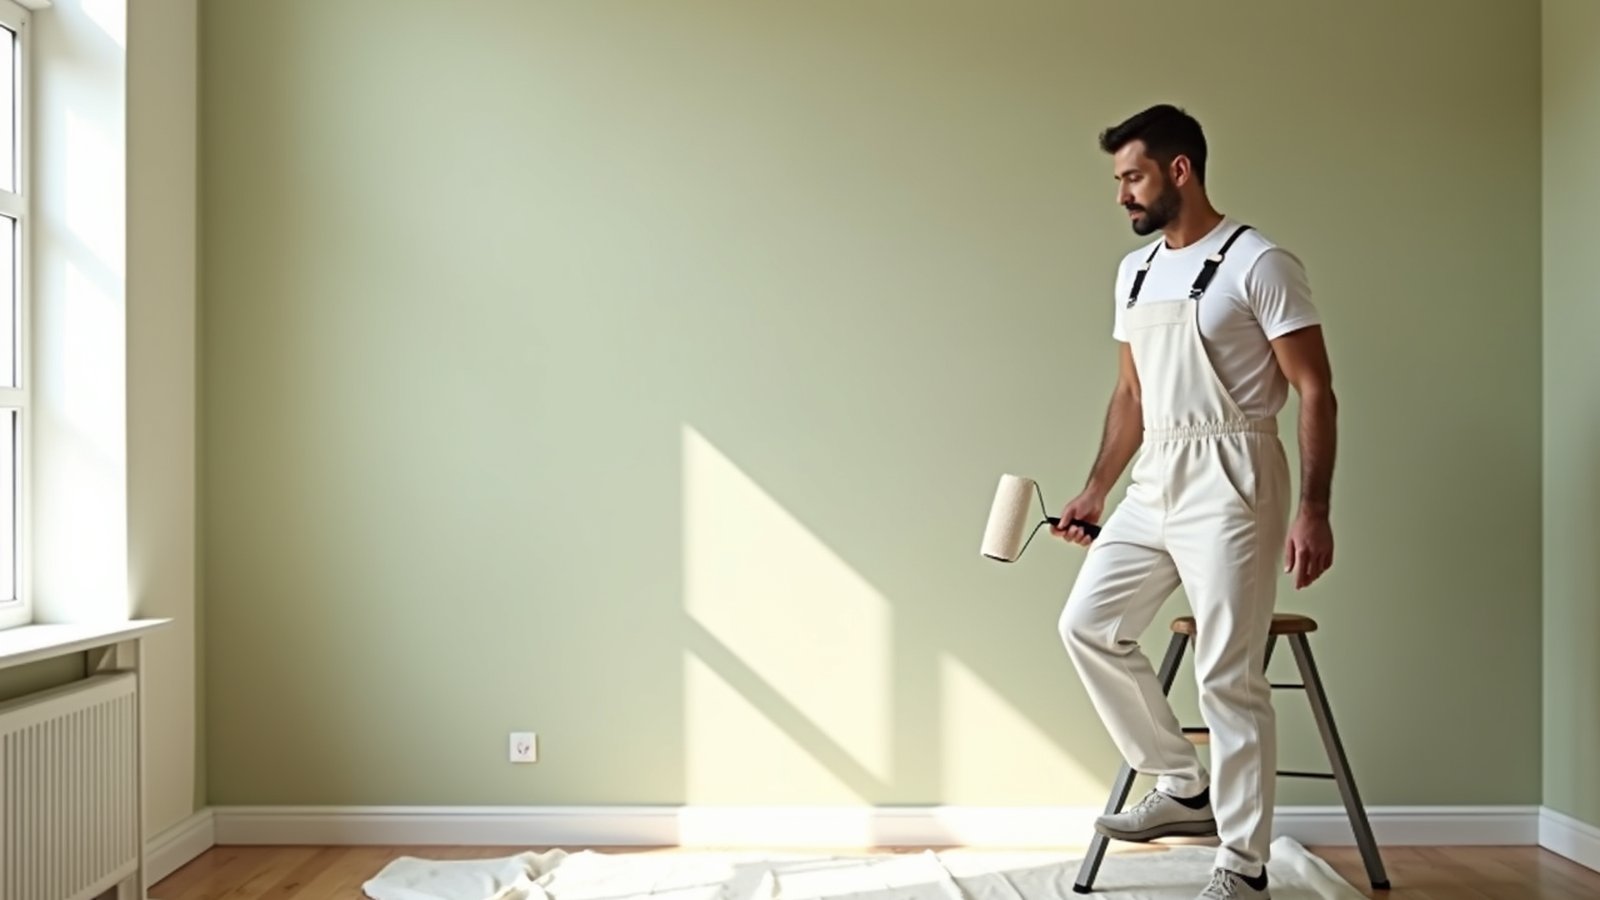
A color-washed wall reads as gentle, layered, translucent color with soft movement and a hint of the base tone showing through. Think of an old plaster wall warmed by afternoon light, mottled and alive rather than uniform. Because the glaze is see-through, you get depth and subtle variation that a single flat coat can never produce. You control how dramatic it is: a close base and glaze pairing gives a whisper of texture, while a stronger contrast gives an obvious aged, Tuscan effect.
It works in almost any dry interior room, and it is especially good in living rooms, dining rooms, bedrooms, hallways, and entryways where warmth and depth are welcome. It also happens to hide minor wall imperfections, because the broken, layered pattern camouflages small flaws. Avoid it as your only finish in heavy-splash zones like a shower surround unless you seal it well. For the broader map of related textures, our guide to decorative paint finishes shows where color washing sits among sponge, rag, and plaster looks.
Choosing Your Base And Glaze Colors
Color washing is really a two-color decision, and the pairing drives the whole look. The base coat is your lighter, dominant tone. The glaze is a related tint layered over it. For a soft, sophisticated result, keep the two colors in the same family and a shade or two apart. For a bolder, more rustic look, push the contrast. A common approach is a warm neutral base with a slightly deeper or warmer glaze so the wall glows.
Undertones matter more here than in flat painting, because you are literally layering one tone over another and they mix optically. A glaze with a green undertone over a base with a pink undertone can go muddy. Our guide on paint undertones explained helps you avoid that, and if you are still picking the palette, start with how to choose paint colors. Always test your exact base and glaze on a sample board before you commit a wall, because the dried, layered color is what counts, not the wet swatch.
Tools And Materials
The kit is simple and inexpensive. You need your base-coat wall paint, a can of clear acrylic glaze medium, and your glaze color, which is just a small amount of regular paint or universal tint. For application, gather lint-free rags, a natural sponge, or a wide brush depending on the texture you want, plus a standard roller and tray for the base coat. Have a bucket for mixing the glaze, painter’s tape, and drop cloths.
The glaze medium is the key ingredient and the thing beginners skip. It extends the open working time of the paint and makes it translucent, which is what lets you rag and blend without the color drying into hard edges. Do not try to color wash with thinned paint alone, because it dries too fast and streaks. Use a water-based acrylic glaze for easy cleanup and low odor.
Prep And Base Coat
Because the glaze is translucent, your prep and base coat show through, so do them properly. Clean the walls, fill and sand any holes flat, and tape off trim and ceilings. This is the same groundwork covered in our overview of how to paint a room, and it matters more with a wash because flaws are not hidden by opaque paint. If your home predates 1978, treat old paint as possible lead and avoid dry sanding; see the EPA lead program for safe practices.
Roll two coats of your base color and let it cure. A base in a low sheen such as flat or eggshell is the usual choice because it gives the glaze some tooth to grab and reads soft. A satin base makes the glaze slide and drag differently, which some people like for a shinier plaster effect, so our paint sheen guide is worth a look if you want to tune that. Let the base coat dry fully before glazing, because glaze over uncured paint can lift it.
Mixing The Glaze
Mix the glaze in a clean bucket. A common starting ratio is around four parts clear glaze medium to one part paint color, but treat that as a range and adjust. More glaze means more translucency and longer working time and a subtler effect. More paint means stronger color and a shorter open time. Stir thoroughly and mix enough for the whole room in one batch so the color stays consistent from wall to wall. Test the mix on your sample board and let it dry to confirm the translucency and tone before you start the real walls.
Step By Step: The Color Wash Technique
Work in manageable sections, roughly a few feet square, and keep moving so edges stay wet. Two people help, one applying and one blending.
- Apply the glaze in a loose crosshatch. Load your rag, sponge, or brush lightly and lay the glaze on in overlapping X-shaped or crisscross strokes over one section. Do not aim for even coverage, aim for varied, broken movement that lets the base show through.
- Soften and blend while wet. Go back over the wet glaze with a dry rag or a soft brush, feathering out any heavy spots and hard lines so the section reads soft and cloudy. This is where the look comes together.
- Keep a wet edge. Move to the next section and blend its glaze into the still-wet edge of the last one. If a boundary dries before you blend across it, you get a visible hard line, so never let an edge set up. This is the single most important habit in color washing.
- Vary your direction. Change the angle of your strokes as you move across the wall so no repeating pattern emerges. Randomness is what makes it look like aged plaster instead of a wallpaper repeat.
- Step back and assess. Every so often, step back and view the wall from across the room in good light. Add glaze where it looks thin and soften where it looks heavy while everything is still workable.
Rag, Brush, Or Sponge: Choosing Your Applicator
The tool you drag through the glaze changes the character of the finish, so pick to match the look you want. A bunched, lint-free rag gives the softest, most cloud-like result and is the classic color-wash tool, forgiving and easy to blend. A wide, coarse brush leaves more visible directional strokes for a stronger, more plaster-like, hand-worked texture, good if you want the effect to read as obvious. A natural sea sponge pushes you toward a dappled, mottled pattern that sits between color washing and true sponge painting. Many people combine tools, laying the glaze with a brush and softening it with a rag. Whatever you choose, keep a spare clean rag in your other hand for blending, and change or re-bunch the rag as it loads up with glaze so the pattern stays fresh rather than smearing. Test each applicator on your sample board, because the same glaze looks noticeably different ragged versus brushed versus sponged. As a rule, softer tools and more glaze medium give a subtler, more blended result, while coarser tools and a stronger tint give a bolder, more textured one, so let the room guide you: a calm bedroom leans soft, a dramatic dining room can take more contrast.
Common Mistakes And How To Fix Them
The number one mistake is losing the wet edge, which leaves a hard line where two sections meet. Prevent it by working fast, in smaller sections, with enough glaze medium in the mix to extend open time. If a line already dried, feather fresh glaze over it to blend it back. Too much contrast or a heavy hand gives a blotchy, overworked look, so use less glaze on the applicator and soften more. Streaks usually mean not enough glaze medium, so the paint dried before you could blend. And skipping the sample board is how people end up surprised by a muddy color, since layered glaze looks different from the wet swatch. For a related mottled effect that is even more forgiving, our sponge painting guide uses the same layering idea with a dabbing motion.
Sealing And Durability
In a normal living room or bedroom, a color wash usually needs no topcoat and holds up like regular wall paint. In higher-traffic or higher-moisture areas, a clear water-based topcoat protects the glaze and makes it wipeable, at the small cost of a slight sheen change. Apply any sealer thinly and evenly so it does not pool or yellow. If you want a heavier, more polished, plaster-like durability, that is really the territory of a troweled finish, and our guide on how to apply Venetian plaster covers that harder, more durable cousin. Maintenance for a sealed color wash is simple: dust and the occasional gentle wipe.
DIY Versus Pro And Effort Level
Color washing is genuinely beginner friendly and one of the best decorative finishes to learn on, because mistakes blend away while the glaze is wet and the broken pattern hides flaws. The effort is low to moderate: the main challenge is stamina and keeping a wet edge across a big wall, which is easier with a helper. A small to medium room is a weekend for most DIYers. A pro is worth it mainly for very large or high walls, or if you want a specific, refined designer effect. To decide, compare a quote to your own time using our cost calculator or a free painting estimate.
Frequently asked questions
What is the difference between color washing and sponge painting?
Both layer a translucent glaze over a base coat, but the tool and motion differ. Color washing uses a rag or brush in loose crosshatch strokes for a soft, sweeping, cloudy look. Sponge painting dabs a sea sponge for a more dappled, textured pattern. You can even combine them.
Do I need glaze medium to color wash walls?
Yes, for good results. Glaze medium makes the paint translucent and extends its working time so you can rag and blend without hard dried edges. Thinned paint alone dries too fast and streaks. Mix roughly four parts glaze to one part paint as a starting ratio and adjust to taste.
What base coat sheen works best under a color wash?
A flat or eggshell base is the usual choice because it gives the glaze tooth and reads soft. A satin base makes the glaze slide for a shinier, plaster-like effect that some people prefer. Test your combination on a sample board and judge it dry before committing the walls.
How do I avoid hard lines when color washing?
Keep a wet edge. Work in small sections, use enough glaze medium to slow drying, and always blend each new section into the still-wet edge of the last one. If a line dries before you blend it, feather fresh glaze over the seam to soften it back into the wall.
Can I color wash over existing painted walls?
Yes, if the existing paint is clean, sound, and the right color and sheen to serve as your base. Many walls can be glazed directly with no repaint. If the current color is wrong for the effect you want, roll a fresh base coat first, then apply your tinted glaze.
Do color-washed walls need to be sealed?
In most living spaces, no, the glaze wears like normal wall paint. In high-traffic or damp areas, a thin clear water-based topcoat makes it wipeable and more durable, with a slight sheen change. Apply any sealer evenly and sparingly so it does not pool or yellow the finish.