In this article
- What a sponged finish looks like and where it works
- Sponging-on versus sponging-off
- Tools and materials
- Surface prep and base coat
- Step by step: the dabbing technique
- Blending corners and edges
- Layering colors for depth
- Common mistakes and how to fix them
- Sealing and durability
- DIY versus pro and effort level
- Frequently asked questions
Quick answer: Sponge painting builds a soft, mottled two-tone texture by dabbing one or more glaze colors over a dry base coat with a natural sea sponge. The make-or-break step is keeping the dabs random. Turn the sponge constantly and vary your angle, or you get repeating blotches that read as a mistake.
What a sponged finish looks like and where it works
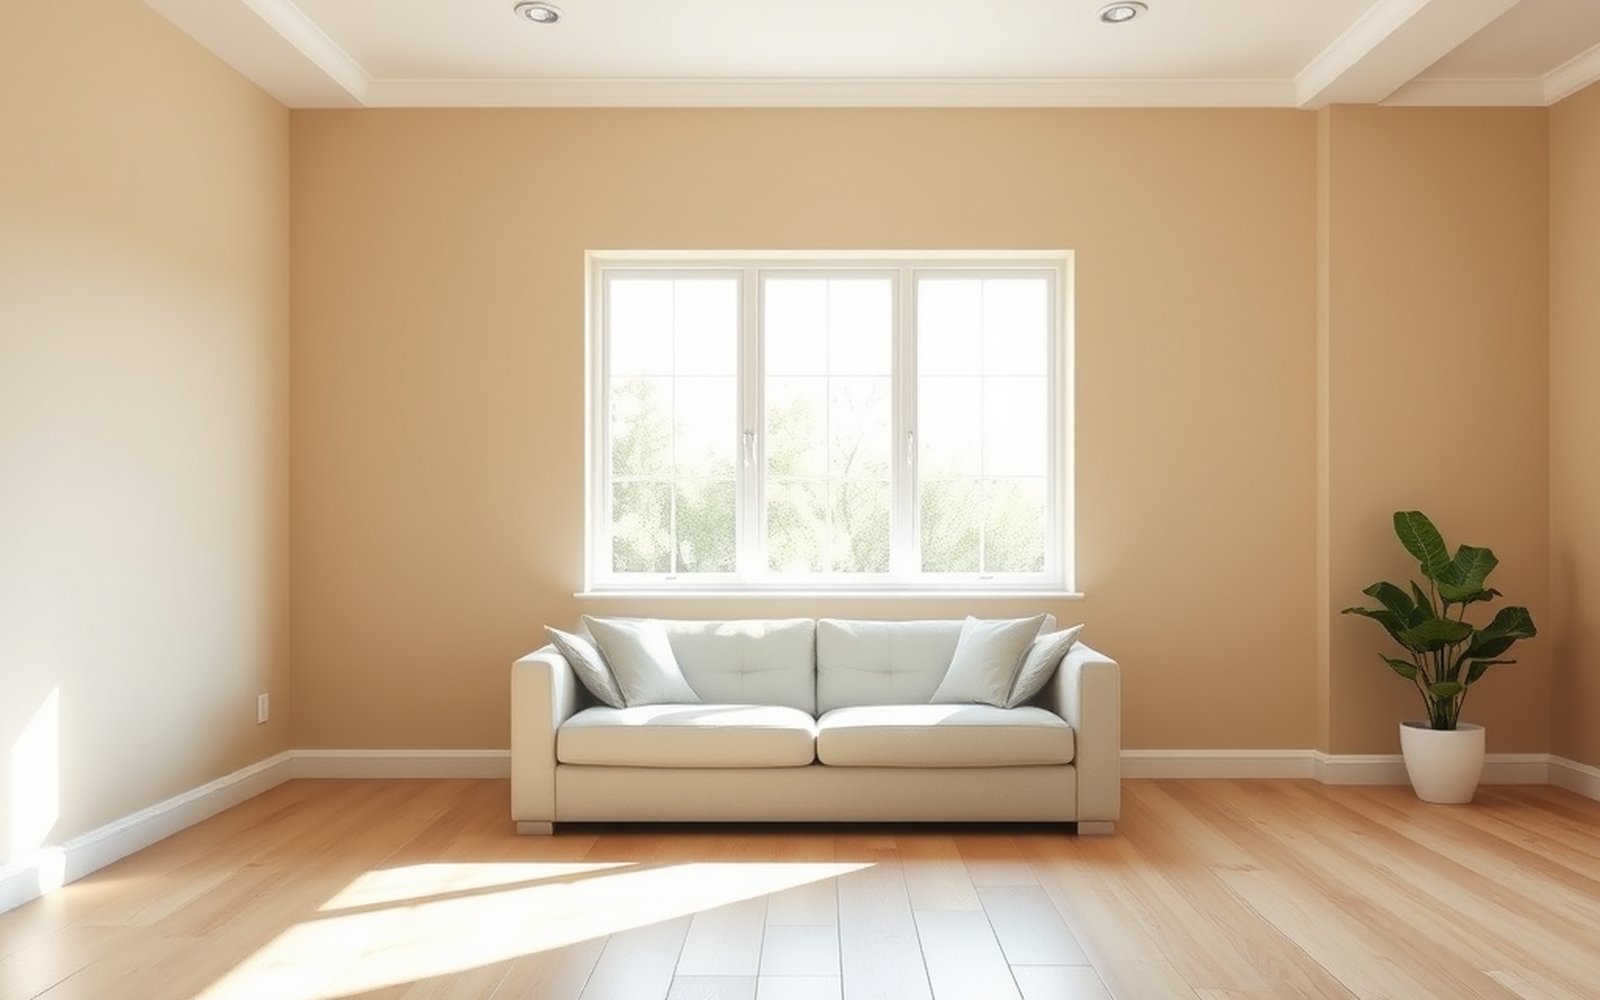
Sponge painting is one of the oldest and most forgiving decorative finishes. You lay down a solid base color, then use a natural sea sponge to dab a second and sometimes a third color over it in a broken, cloud-like pattern. The result is a gentle mottled depth, softer than a solid wall and less busy than rag-rolling. Done in close tones it whispers; done in high contrast it shouts.
It works best on accent walls, powder rooms, hallways, and cozy spaces where you want warmth and texture without a bold pattern. It is also a friend to imperfect walls, because the broken finish hides small dents and roller marks that a flat sheen would highlight. Where it struggles: large open expanses with raking light, which can expose a repetitive rhythm, and very high-traffic scuff zones unless you seal it. If you are still choosing which room to treat, the room painting overview helps you plan the whole space around one feature wall.
Sponging-on versus sponging-off
There are two ways to sponge, and it helps to pick before you start. Sponging-on is the classic method: base coat dries, then you dab glaze color onto it. It gives crisp, defined mottling and total control over density. Sponging-off is the reverse: you roll a thin glaze over the wall, then press a clean damp sponge into the wet glaze to lift color away, which leaves a softer, more subtle texture. Beginners usually find sponging-on easier to control, so that is the method the steps below follow, but the tools and prep are identical.
Tools and materials
Shop by type rather than brand. You will want a natural sea sponge, not a synthetic kitchen sponge, because the irregular holes are what create the organic pattern. Get one large enough to cover ground quickly and a smaller one for corners.
For paint, use a flat or eggshell base coat in your chosen background color, then a glaze for the top color or colors. A glaze is a translucent medium you tint with paint so the layers show through each other; you can use a tinted acrylic (water-based) glaze for easy cleanup, or an oil glaze for a longer working time. Round out the kit with a paint tray, a roller for the base coat, painter’s tape, a drop cloth, clean rags, and a bucket of water. Pick one to three glaze colors total. More than three tends to turn muddy.
Safety note: if you choose an oil-based glaze, the rags are a fire hazard. Oil-soaked rags can spontaneously combust in a pile. Dry them flat outdoors or submerge them in water in a sealed metal container before disposal, and follow local disposal rules. Never pour glaze or solvent down a drain.
Surface prep and base coat
Sponging hides minor flaws but not major ones, so patch big holes, sand rough patches smooth, and clean the wall of dust and grease first. The prep is the same discipline as any repaint, and the wall prep guide covers filling and sanding if your surface needs work. Tape off trim, ceiling lines, and adjacent walls.
Roll on your base coat and let it dry fully, usually overnight, because you do not want the glaze lifting the base. This background color does a lot of work: it is the tone that peeks through every gap in the sponging, so choose it with the finished mood in mind. If you are unsure how two colors will read together, the guide to choosing paint colors and the explainer on paint undertones will save you from a combination that fights itself. As a rule, base and glaze that share an undertone blend gracefully; clashing undertones look dirty.
Step by step: the dabbing technique
Dampen your sea sponge with water and wring it nearly dry, then keep it that dampness throughout. A bone-dry sponge grabs too hard; a soaking one smears.
Mix your glaze in a tray, dip only the face of the sponge lightly, and offload the excess onto a scrap of cardboard or a paper towel until the print looks broken and pretty rather than solid. This test-dab step is the single biggest quality control move, so do it every time you reload.
Now dab the wall with a light, springy touch. The golden rule is randomness: rotate the sponge a little between every press, change the angle, and never stamp the same orientation twice in a row. Work in a loose scattered pattern rather than tidy rows, leaving gaps of base color showing, then come back and fill some of those gaps so the density evens out across the wall. Step back often. Your eye reads the overall pattern from six feet away, not from the ladder.
If you are layering a second glaze color, let the first pass dry, then repeat with the new color, placing it partly over and partly beside the first so the two mingle. A third color, if you use one, should be the most restrained. Keep a wet edge going and do not let one section fully dry mid-wall, or the seam will show. This wet-work discipline is the same reason a color wash finish and an ombre wall both reward speed; the sponge just breaks the pattern differently.
Blending corners and edges
Corners, edges near trim, and the tops and bottoms of walls are where sponging goes wrong, because a full sponge will not fit into a corner and you end up with a bare stripe or a heavy smudge. Switch to your smaller sponge, or tear a piece off the large one, and dab into the tight spots with the same random, offloaded touch. Feather the density so the corner matches the field of the wall rather than looking outlined. Keep the pattern flowing around inside and outside corners so the eye reads one continuous surface.
Layering colors for depth
A single glaze color over a base gives a pleasant but shallow effect. The finishes people admire almost always use two related tones layered in passes. Lay your first glaze color across the whole wall in the scattered pattern, let it dry, then come back with a second tone that sits partly over and partly beside the first. The overlap is where the depth lives, because the two translucent layers combine into a third shade your eye reads as shadow. Keep the second color lighter in coverage than the first so it accents rather than competes.
A common professional trick is to make the base coat, the first glaze, and the second glaze step gently from light to slightly darker within the same family. That subtle progression reads as soft, natural depth, like weathered plaster or aged stone, rather than two flat colors stamped on top of each other. If you want to push toward that old-world plaster look specifically, the technique starts to overlap with a Venetian plaster finish, which builds depth with a trowel instead of a sponge. Test your layering plan on a large scrap board first, because it is far cheaper to learn the ratio there than on the finished wall.
Common mistakes and how to fix them
A repeating blotch pattern is the classic failure, caused by not rotating the sponge; break it up by dabbing a little more glaze between the repeats to disguise the rhythm. Blobs and smears mean too much glaze on the sponge, so offload more before touching the wall. A muddy, dirty look usually comes from too many colors or clashing undertones; pull back to two related tones. Hard visible seams appear when a section dried before you blended into it, so always keep a wet edge. And a finish that is too heavy and busy can be calmed by dabbing more base color back over the densest areas.
Beginners also fight the wall being too sparse, panic, and overload it into a solid smear. The fix is patience: build density in gentle passes, stepping back between each, rather than trying to reach the final look in one pass. And if the sponge starts leaving a hard-edged mechanical print, it has dried out or clogged, so rinse it, wring it nearly dry, and reload lightly.
Sealing and durability
A sponged wall with a water-based glaze is reasonably durable on its own, but glaze finishes are softer than a straight paint film and can burnish or mark in high-touch areas. In a hallway, kids’ room, or anywhere hands and furniture rub, protect it with a clear water-based topcoat in a matte or satin sheen. Apply it thin and evenly so it does not pool in the texture. In a low-traffic accent wall you can often skip the topcoat entirely. For guidance on how much sheen changes the look and wipeability, the paint sheen guide is worth a read before you seal.
DIY versus pro and effort level
Sponge painting is squarely a DIY finish. It is more about practice than skill, and the technique is easy to test on a scrap of drywall or poster board before you touch the wall, which is exactly what a nervous first-timer should do. A single accent wall is typically an afternoon once the base coat has dried overnight. The main cost is your time plus a sea sponge, glaze, and base paint, so it is one of the cheaper ways to add real texture to a room.
You would only bring in a pro for a very large or high-ceilinged space where keeping a wet edge across the whole wall is physically demanding, or if you want a flawless finish across an open-plan great room. If you are budgeting a larger decorative project, estimate it with the cost calculator or pull a tailored number from the free painting estimate. And for the full menu of broken-color and textured options, the decorative finishes overview shows where sponging sits among the alternatives.
Frequently asked questions
What kind of sponge do I use to sponge paint a wall?
Use a natural sea sponge, not a synthetic kitchen sponge. The irregular natural holes create the organic mottled pattern, while a synthetic sponge leaves a uniform, mechanical print. Keep a large one for open areas and a small one for corners.
Do I need glaze, or can I just use paint?
Glaze gives the best result because it is translucent, so the base color shows through and the layers gain depth. You can dab thinned paint, but it dries faster and looks flatter and more opaque. Tinting a glaze with your top color is the reliable approach.
How many colors should I use for sponge painting?
One to three colors total, including the base. Two closely related tones give a soft, elegant look. A third color adds depth if used sparingly. More than three, or clashing undertones, tends to turn the wall muddy and busy.
How do I keep the pattern from looking repetitive?
Rotate and re-angle the sponge between every single dab, never stamping the same orientation twice. Offload excess glaze before touching the wall, work in a scattered rather than tidy pattern, and step back often to check the overall rhythm.
Do I have to seal a sponge-painted wall?
Not always. A low-traffic accent wall usually holds up without sealing. In hallways, kids’ rooms, or high-touch areas, a thin coat of clear water-based topcoat in matte or satin protects the softer glaze finish from marks and burnishing.
Can I sponge paint over a textured wall?
Yes, though heavy texture changes how the sponge deposits color and can trap glaze in the low spots. Test on a hidden section first. On very rough walls the mottling reads differently, so adjust your dab pressure and glaze load to keep it even.