In this article
- What counts as exterior trim
- Why trim fails before the siding does
- Lead paint on pre-1978 homes
- Ladder and fall safety
- Prep is the job
- Wash first
- Scrape back to sound
- Feather and sand
- Spot prime every bare area
- Fill, then caulk, and know the difference
- The joints you must not caulk
- Choosing the coating and the sheen
- Brushes and technique
- Sequencing trim against the siding
- Conditions
- Frequently asked questions
This guide is about outdoor trim: fascia, corner boards, window and door casings, gable rakes, frieze boards, water tables and porch trim. It is the painted woodwork on the outside of the house that frames the siding.
If you came here looking for indoor skirting boards, architrave, door casings and window sills inside the house, that is a different job with different products and no ladder safety chapter. Go to the guide on painting trim and baseboards indoors instead. The two get confused constantly because both are called trim, but exterior trim takes weather, needs an exterior coating, and is almost always worked at height.
What counts as exterior trim
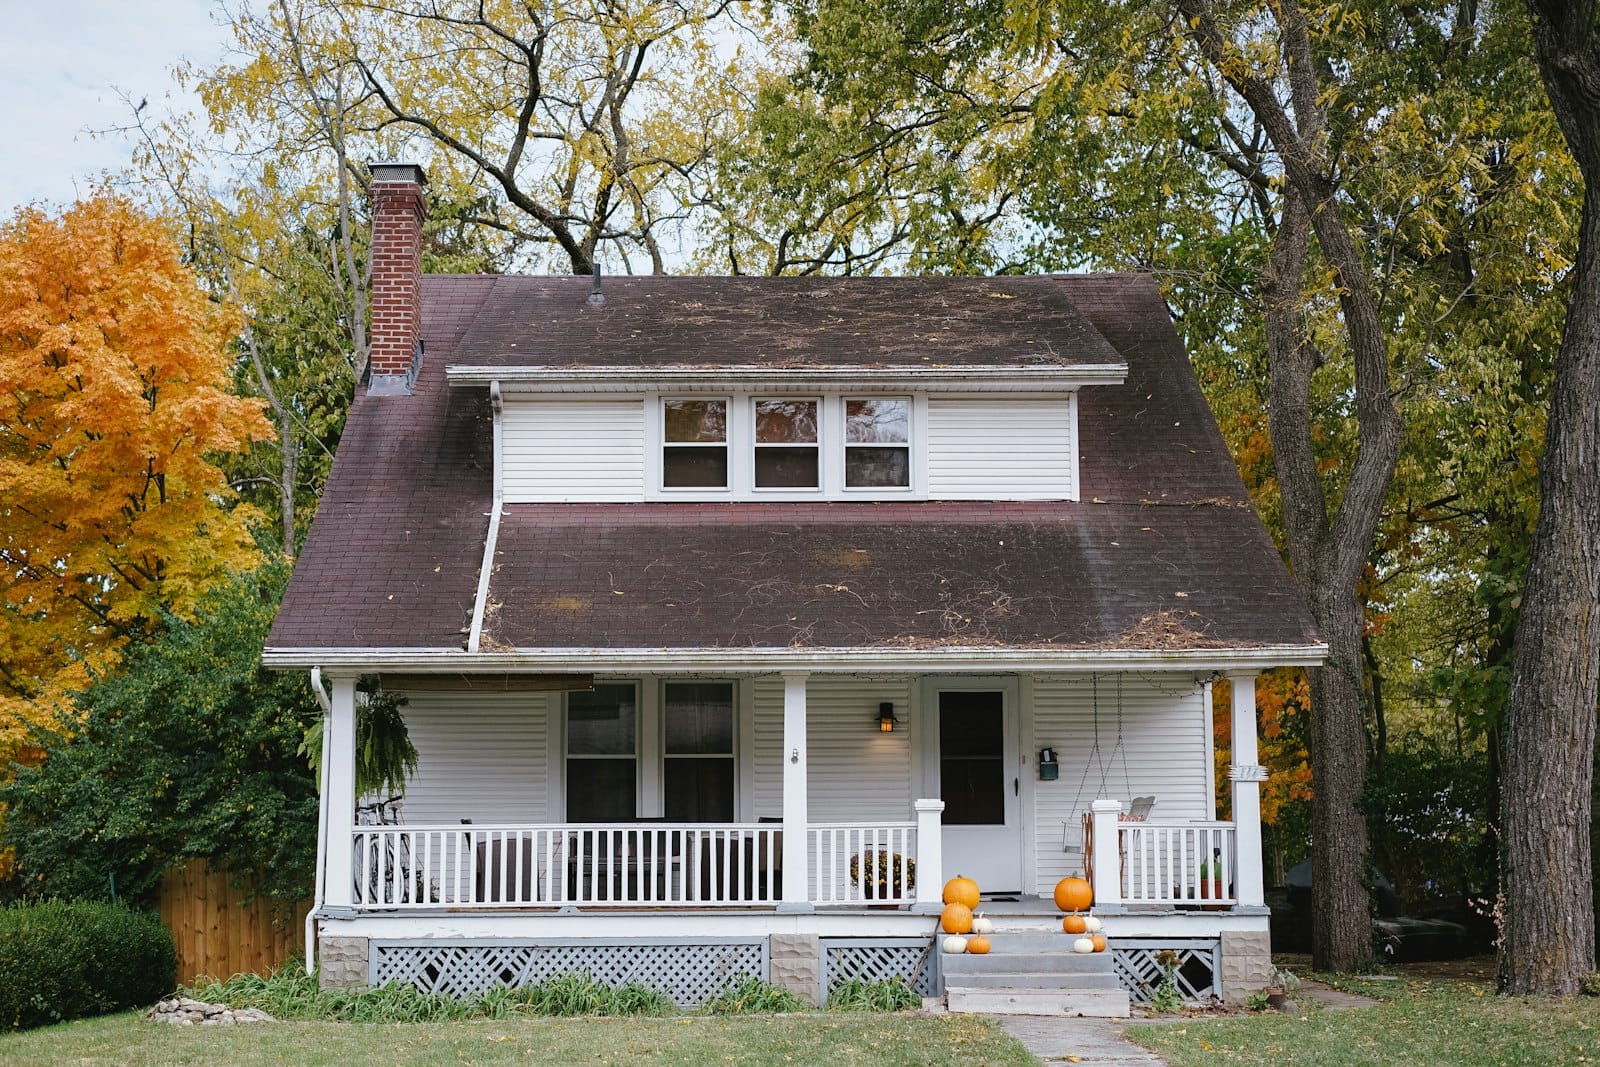
Exterior trim is everything that is not siding, roof or glass, and it is usually a contrasting colour.
- Fascia at the roof edge, where the gutter mounts. Covered in depth in how to paint soffit and fascia.
- Soffit, the underside panel of the eave.
- Rake boards running up the slope of a gable end.
- Frieze board where the siding meets the soffit.
- Corner boards at the vertical corners of the house.
- Window casings, sills, aprons and brickmould. See how to paint exterior window frames.
- Door casings and thresholds.
- Porch trim, beams, brackets and columns. See how to paint porch columns.
- Water table, band boards and skirt boards at the base of the wall.
Why trim fails before the siding does
Walk any tired-looking house and the trim is peeling while the siding still looks passable. There are three reasons, and understanding them tells you where to concentrate your prep.
It takes the most weather
Trim sits at the edges and the projections. Sills catch standing water. Fascia takes the roof run-off. Rake boards take driving rain along their whole top edge. Corner boards take wind from two directions. The flat field of the wall sheds water quickly. Trim collects it.
It has the most end grain and joints
Wood drinks water through its end grain many times faster than through its face. Trim is short pieces, mitred corners, butt joints and cut ends, so it is mostly end grain compared with a long run of siding. Every joint is a place water gets behind the coating and lifts it from underneath. That is why paint fails at the mitre first and works outward.
It is usually a different product
Trim is typically coated with a harder, higher-sheen enamel while the siding gets a flatter wall coating. Harder films are less flexible, and the trim they sit on moves with temperature and moisture. On older houses the trim may also have generations of oil-based paint on it, which becomes brittle over time and cracks rather than stretches.
Lead paint on pre-1978 homes
If the house was built before 1978 in the United States, assume the existing trim paint contains lead until testing says otherwise. Trim is the highest-risk surface in the whole house for this, because trim prep is mostly scraping and sanding, and because trim is where the old oil paint layers survive.
Test before you start. Testing for lead paint covers how. If lead is present, work lead-safe: sheet the ground under the work area, mist the surface before scraping so chips do not become airborne dust, avoid dry power sanding and avoid open flame or high-heat stripping, wear a proper respirator, and collect and dispose of every chip rather than raking them into the beds. Requirements for renovation work on older housing vary by country and by region, so check what applies where you are. The guide to stripping paint covers the methods and which ones are safe on old coatings.
Ladder and fall safety
Almost all exterior trim is above head height, and falls are the injury that genuinely takes painters off the tools. Treat access as part of the work.
- Set the angle. The usual rule of thumb puts the ladder base out from the wall roughly one quarter of the working height. Too steep tips backward, too shallow slides out.
- Level and solid feet. Use a board on soft ground and a levelling foot on a slope. Never pack with bricks or offcuts.
- Fit a standoff or stabiliser for eave, rake and upper casing work. It keeps the ladder off gutters and glass, spreads the top contact, and gives you a workable body position.
- Never stand on the top two rungs of an extension ladder or the top cap of a stepladder.
- Keep your belt buckle between the rails. If you have to lean past a rail to reach the next foot of trim, climb down and move the ladder.
- Expect to move it constantly. Trim runs in long thin lines, so ladder moves are most of the time on the job. Accept that rather than overreaching to save one.
- Three points of contact when climbing, and carry paint in a hooked pot rather than in your hand.
- Have a spotter where you can, to foot the ladder and pass materials up.
- Watch for service cables at the fascia and along the wall, and never bring a ladder near a live line.
Choosing a ladder for painting covers matching the ladder to the height, and the painting safety equipment checklist covers eye, lung and hand protection for scraping and sanding overhead.
Prep is the job
On exterior trim, prep is not the boring part before the painting. It is the part that decides whether the coating lasts one season or many.
Wash first
Clean off dirt, mildew, chalk and cobwebs before you touch a scraper, otherwise you grind the contamination into the surface. Treat visible mildew with a suitable product, scrub, rinse and let it dry fully. Shaded trim under a deep overhang dries slowly, so allow more time than you think.
Scrape back to sound
Remove everything that is loose, lifting, blistered or flaking. The test is simple: if a scraper lifts it, it was going to fail anyway. Work along the grain, keep the blade sharp so you cut rather than tear, and pay special attention to the areas around joints and cut ends where failure starts.
Feather and sand
Scraping leaves a hard edge between remaining paint and bare wood. Sand that edge down so it is not visible as a ridge through the finish coat. Sand any glossy remaining paint enough to dull it, because a new coat will not grip a slick old enamel. On a house with heavy paint build you may accept some texture rather than trying to get it perfectly flat, but the transitions must be feathered.
Spot prime every bare area
Bare exterior wood must be primed. Primer seals the timber, blocks tannin bleed on species that stain, and gives the finish coat something to bond to. Prime end grain especially generously: cut ends, mitres, the underside of sill noses and any place where a board has been trimmed on site. That is where water enters. If the trim is largely stripped, prime the whole board rather than patching. The guide to whether you need primer before painting covers the spot prime versus full prime decision.
Fill, then caulk, and know the difference
Filler goes in holes, splits, dents and small rot excavations in the face of the board. Use an exterior grade filler that stays flexible enough for a surface that moves, sand it flush, and prime it.
Caulk goes in the joints between two pieces of material that need to be sealed against water. Trim gives you plenty of them: casing to siding, corner board to siding, trim to masonry, mitres on a casing, and the joint where two boards butt.
The joints you must not caulk
This is where good intentions cause rot. Sealing every gap you can see traps water inside the assembly instead of keeping it out. Water always gets in somewhere, and the assembly is designed to let it drain back out. Seal the exit and it sits in the timber.
As a general rule, seal the joints at the top and sides of a trim element and leave the bottom edge open to drain. Do not caulk under the bottom edge of a window sill, do not caulk the weep holes or drainage channels in a window unit, do not seal the bottom edge of a horizontal siding course to the trim below it if that gap is the drainage path, and do not caulk a soffit vent closed. Caulking before painting works through which joints to seal in detail. If you are unsure on a particular joint, the safe default is to leave the lowest edge open.
Choosing the coating and the sheen
Use an exterior grade trim enamel. Modern exterior acrylic enamels are the usual choice: they hold colour, stay flexible enough to move with the timber, and can be recoated later without drama. Oil-based enamels give a very hard, level film and are still used on trim, but they get brittle with age and yellow, and they are far less pleasant to work with overhead. The comparison of latex and oil-based paint weighs the two properly, and the guide to the best paint for exterior trim goes through the product decision for this specific surface.
Why sheen matters more on trim
Go higher in sheen on trim than on the siding, for three reasons.
It sheds water. A tighter, glossier film is less porous and lets rain run off rather than soak in. On the surfaces that take the most water, that matters.
It cleans and holds up. Higher sheen resists dirt pickup and can be washed. Trim at door height, on porch rails and around windows gets touched, splashed and grubby.
It separates the trim visually. The whole point of trim colour is definition. A satin or semi-gloss trim against a flat or low-sheen wall reads as a crisp frame even when both are the same colour. Paint the trim in the same sheen as the wall and the architecture goes flat.
The trade-off is that higher sheen shows surface defects. A gloss finish on a wavy old fascia will highlight every scrape line and filled patch, so match your sheen ambition to your prep standard. The paint sheen guide covers the full range.
Brushes and technique
Trim is brush work. A sprayer is useful only where you can mask heavily and have long uninterrupted runs, and even then you back-brush.
Brush choice
An angled sash brush is the workhorse for exterior trim. The angle lets you cut a line against the siding and get into the corner where trim meets wall. Size it to the trim: a narrow brush for casings and mullions, a wider one for fascia and corner boards. Use a synthetic filament brush with water-based coatings and a natural bristle brush with oil-based, and buy a decent one, because the difference between a good and a bad brush shows immediately in a cut line. The guide to choosing a paint brush covers selection.
Cutting in without tape
On exterior trim, freehand cutting usually beats taping. Tape does not sit well on textured siding, lifts in the sun, and lets paint bleed under it on rough surfaces, so you end up doing more remedial work than you saved. Load the brush, set the edge slightly back from the line, then bring it up to the line with a steady pass using the tip of the angled bristles. Let the brush do the work rather than pressing it flat.
Where tape is genuinely worth it: against glass if you are not confident, against masonry, and against an already finished adjacent colour on a smooth surface.
Working the coat
- Lay off in the direction of the grain and along the length of the board, not across it.
- Keep a wet edge. Trim runs are long and continuous, so lap marks show. Plan ladder moves so you restart into wet paint, and break at natural stops such as corners, joints and downpipes.
- Do not overload overhead. A full brush on a soffit or the underside of a sill drips before it lands. Take less paint and work it out.
- Coat the edges and undersides. The bottom edge of a sill, the back of a corner board return, the underside of a rake. Water finds unpainted edges.
- Two coats is the working assumption on trim, over primer where the substrate is bare. The guide to how many coats of paint you need covers the exceptions.
Sequencing trim against the siding
There are two workable orders and the choice depends on your method.
Siding first, then trim, is the common order for brush and roller work. You coat the field freely, letting it run onto the trim edges, and then cut the trim in over the top. The trim coat gives you the final crisp line, so any overshoot from the wall coat is buried. This is the easier order for most people.
Trim first, then siding, suits spray work. Spray and back-brush the trim, let it cure, then mask the trim and spray the field. Repainting the field is the larger area, so it is worth having the finished trim protected.
Either way, do all the prep on the whole elevation before you start coating any of it. Scraping above freshly painted siding is how you ruin a day’s work. And on eave work specifically, coat the soffit before the fascia so drips land on unpainted board, as covered in how to paint soffit and fascia.
Conditions
Trim enamels are less forgiving than wall coatings about heat and dew. Avoid painting into direct hot sun, which skins the surface before the film levels. Avoid coating late enough that dew lands on wet paint. Watch the minimum temperature and the humidity limits on the product, and do not start a run you cannot finish before rain. The guide to the best weather conditions for exterior painting covers what is actually workable.
Frequently asked questions
Is this the same as painting interior trim?
No. Exterior trim means fascia, corner boards, rakes, casings and porch woodwork on the outside of the house. It needs exterior grade primer and enamel, weather-aware prep, and ladder work. Interior skirting and architrave is a different job covered in the interior trim guide.
What sheen should exterior trim be?
Higher than the siding. Satin or semi-gloss is the usual choice. A tighter film sheds water better, cleans up better, and visually separates the trim from the wall. The trade-off is that higher sheen highlights surface defects, so your prep has to match.
Do I have to prime bare wood on trim?
Yes. Bare exterior timber needs primer to seal it, block staining and give the finish something to bond to. Prime end grain generously, because cut ends, mitres and the undersides of sills are where water gets into the board and pushes the coating off.
Which joints should I caulk and which should I leave?
Seal the top and sides of trim elements, and leave the lowest edge open so trapped water can drain out. Never seal window weep holes, soffit vents, or the underside of a sill. Caulking a drainage path shut traps water in the timber and causes the rot you were trying to prevent.
Should I use tape or cut freehand against the siding?
Cut freehand where you can. Tape does not seal against textured siding, bleeds on rough surfaces and lifts in heat, so it often creates more remedial work than it saves. Keep tape for glass, masonry and smooth adjacent finished colours.
Do I paint the trim or the siding first?
If you are brushing and rolling, do the siding first and cut the trim in over it, so the trim coat delivers the final line. If you are spraying, do the trim first, then mask it and spray the field. Either way, complete all prep on the elevation before any coating starts.