In this article
- Turn the Heat Off and Let It Go Cold
- Clean Off Dust, Grease, and Flaking Paint
- De-Gloss the Old Paint and Knock Back Rust
- The Lead Warning on Old Radiators
- Prime Bare and Rusty Metal
- Choose a Heat-Tolerant Paint
- Apply Thin Coats Without Clogging the Gaps
- Cure It, Then Do a First Low Heat-Up
- Frequently Asked Questions
Quick answer: Turn the heat off and let the radiator go completely cold first, then clean off dust and grease, sand or de-gloss the old paint, knock back any rust with a wire brush, and prime bare or rusty spots with a rust-inhibitive metal primer. Finish with a heat-tolerant coating, a high-heat paint or a durable direct-to-metal enamel, applied in thin coats by brush or spray, without clogging the fins or valves. Ordinary wall latex can yellow or smell when heated, so a heat-tolerant enamel is the safer category. Let it fully cure, then do a first low heat-up in a ventilated room before normal use. Planning a whole-room repaint? Line up the numbers with the estimate calculator.
Radiators get ignored until they look terrible. Years of dust, chipped paint, a few rust freckles, and a color that no longer matches the room, and suddenly the one metal object bolted to your wall is dragging the whole space down. Painting a cast-iron or steel radiator is a very doable project, and a fresh finish can make an old radiator look intentional rather than neglected. But it is a hot metal surface, and that changes both the prep and the product you reach for. Get those two things right and the finish lasts; get them wrong and it yellows, smells, or peels the first time the heat comes on.
This guide walks through the whole job in order, with the safety steps flagged where they matter. A radiator shares a lot with other enamel-on-metal jobs, so if you have ever painted a door or trim to a hard, smooth finish, the technique will feel familiar. The differences are the heat and, on older units, the possibility of lead paint. Both are covered below.
Turn the Heat Off and Let It Go Cold
This is the first step and it is not negotiable. Do not paint, sand, or even clean a radiator that is warm. Turn off the heat, whether that is the thermostat, the valve on the radiator, or the boiler, and let the unit cool all the way down to room temperature before you touch it. A hot or even warm radiator will flash-dry paint before it can level, cause it to blister, and put you at risk of burns while you work around it. Cold metal is the only surface you should be prepping or painting.
Give it real time to cool, especially a heavy cast-iron radiator, which holds heat for a long while. Plan the job for a time of year, or a stretch of days, when you can leave the heating off for the prep, the coats, and the cure without freezing the household out. Rushing this because you want the heat back on is how finishes fail.
Clean Off Dust, Grease, and Flaking Paint
Radiators are dust collectors, and the convection that heats your room pulls a film of greasy dust onto and between the fins. Paint will not bond to that. Vacuum and brush the loose dust out of the gaps first, getting down between the columns or fins where it packs in, then wash the surface with a degreasing cleaner to cut the grime. Let it dry fully. Our guide on how to clean surfaces before painting covers the general principle, and it applies here with a metal-appropriate cleaner.
While you clean, deal with any flaking or peeling paint. Loose paint has to come off, because anything you paint over that is not firmly attached will take your new coat with it when it lets go. Scrape or brush away the flakes back to a sound edge. How much loose paint you find shapes the next step, and if the radiator is old, read the lead section before you start sanding anything.
De-Gloss the Old Paint and Knock Back Rust
New paint needs a surface it can grip, and two things stand in its way on an old radiator: a slick, glossy old finish, and surface rust. Both need attention. Scuff-sand the old paint to dull the sheen so the new coat can bond, the same reason you would key any glossy surface before recoating. Our guide on how to paint over glossy paint explains why a slick finish sheds new paint and how de-glossing fixes it.
For rust, use a wire brush, sanding, or a rust-removal product to take the flaky orange back to sound metal. You do not need a showroom-bare radiator, but loose rust has to go, because paint over active, flaking rust will keep failing from underneath. Feather the edges where old paint meets the spots you have taken back to metal so the transition does not telegraph through the finish. Wipe away all the dust when you are done, since sanding residue left on the surface ruins adhesion.
The Lead Warning on Old Radiators
This is the safety step to read before you sand anything. Old radiators, especially in homes built before 1978, may carry decades of old paint, and that paint can contain lead. Dry-sanding or scraping lead paint releases fine dust that is hazardous to breathe and spreads through the home. Do not go at an old radiator with power sanders and a dust mask you grabbed from a drawer.
If the home predates 1978 and you have not confirmed the existing paint is lead-free, look into lead-safe work practices: test the paint, wet-sand to keep dust down rather than dry-sanding, contain and clean up the residue carefully, and consider hiring a professional certified under the EPA Renovation, Repair and Painting rule for anything beyond minor touch-up. This is a genuine health hazard, particularly around children, and none of this is legal advice. When in doubt, test first and bring in a pro.
Prime Bare and Rusty Metal
Anywhere you have taken the radiator back to bare metal or fresh rust needs a primer, and specifically a rust-inhibitive metal primer, sometimes sold as a metal or rusty-metal primer. This does two jobs: it grips the bare metal and gives your topcoat something to bond to, and it helps stop rust from creeping back under the new finish. Spot-prime the bare and de-rusted areas at minimum, and if the radiator was heavily rusted or stripped, priming the whole thing is worth it.
Let the primer dry per its own label before topcoating. Whether you need to prime the whole radiator or just the repaired spots depends on how much bare metal you exposed, and our guide on whether you need primer before painting helps you judge that. On metal that will be heated and cooled repeatedly, a proper metal primer on the bare spots is not a place to cut corners.
Choose a Heat-Tolerant Paint
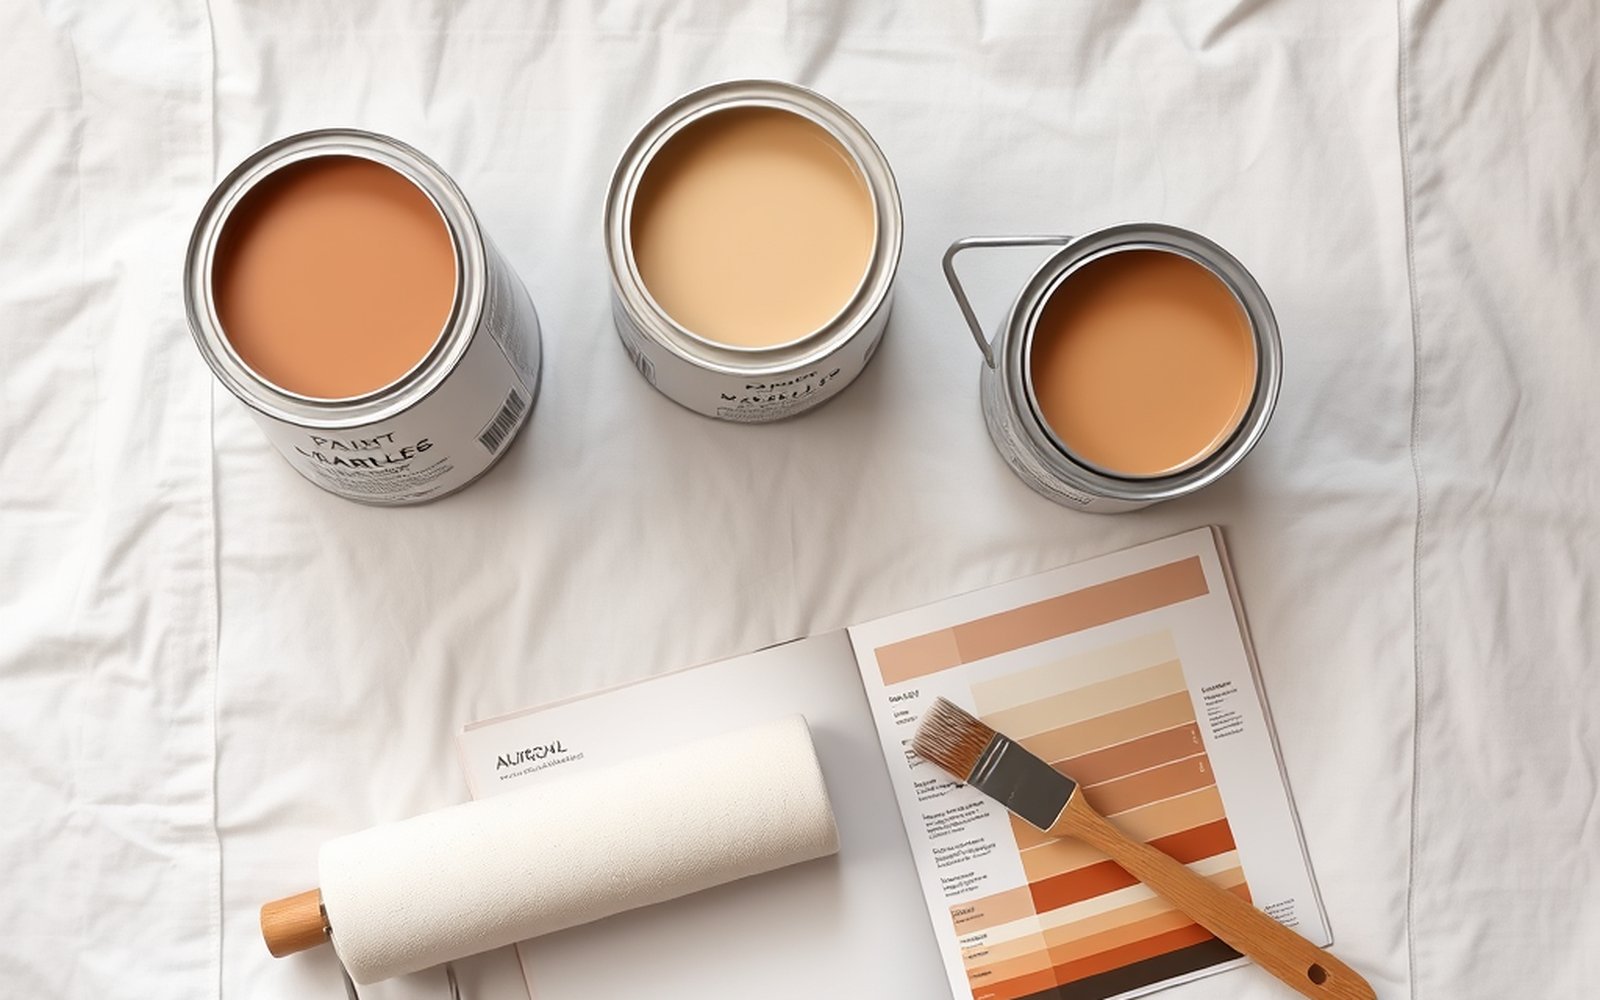
This is the choice that separates a radiator job from painting a regular piece of trim. The finish has to tolerate repeated heating and cooling without yellowing, softening, or giving off a smell. Ordinary interior wall latex is not built for that, and on a radiator it can discolor or off-gas an odor every time the heat comes on. So reach for a heat-tolerant category instead.
- High-heat paint is formulated specifically for hot metal surfaces and is a safe default for a radiator that runs hot.
- Durable direct-to-metal (DTM) enamel is made to bond to metal and cure to a hard, washable finish, and many are formulated to handle the moderate heat of a hot-water or steam radiator. Check that the specific product is rated for the heat your system produces.
The logic here is the same one that makes an enamel the right pick for high-touch trim and doors: you want a hard, durable film that cures tough and stands up to wear. Our guide on the best paint for trim and doors explains that enamel reasoning, and it carries straight over to a radiator, with the added requirement that the product tolerate heat. On sheen, radiators are commonly done in satin or semi-gloss because those wipe clean and look crisp, and our paint sheen guide covers how sheen changes both the look and the cleanability. Whatever you choose, follow the product’s own label for its heat rating and instructions rather than assuming.
Apply Thin Coats Without Clogging the Gaps
Radiators have an unforgiving shape, all those fins, columns, and tight gaps, and the temptation is to slather paint on to reach everything. Resist it. Thin coats are the rule, for two reasons: thick paint sags and runs on the vertical surfaces, and it bridges and clogs the gaps between fins, which both looks bad and can reduce how well the radiator throws heat. Two or three thin coats beat one heavy one every time.
- If you brush, use an angled brush to get between the fins and columns, and keep the coats light so paint does not pool in the recesses. This is fiddly, detailed work, much like painting a paneled surface.
- If you spray, you get the most even finish and the easiest access to the awkward gaps, but mask heavily, because overspray travels, and keep passes light.
- Keep paint off the valves and moving parts. Clogging a bleed valve or a control valve with paint can seize it, so mask those or wipe them clean before the paint sets.
- Let each coat dry per the label before the next. Enamels in particular need their recoat window respected.
The technique is close cousin to painting a door or a detailed trim piece, a smooth, hard enamel finish on a surface with lots of edges, so if you have done that, you know the rhythm. Our guide on how to paint a door covers that same thin-coat, keep-a-wet-edge enamel approach on a detailed surface, and it transfers directly to a radiator.
Cure It, Then Do a First Low Heat-Up
Enamels and high-heat paints are dry to the touch well before they are fully cured, and heating a radiator that has not cured can cause the finish to soften, yellow, or smell. Give the paint the full cure time on its label before you turn the heat back on. When you do fire it up for the first time, do it at a low setting in a well-ventilated room, since almost any coating gives off a bit of odor the first time it warms up, and that first gentle heat-up settles the finish before normal use.
After that first burn-off, the radiator is ready for regular service. If this radiator is one piece of a larger room repaint, and it usually is, remember that the enamel work on the radiator, trim, and doors is the slow, detailed part of the project, while the walls go fast by comparison. Sequence the job so the fiddly enamel surfaces get the time they need, and run your room through the estimate calculator to keep the whole plan realistic.
Frequently Asked Questions
Can you paint a radiator with regular wall paint?
It is not the safe choice. Ordinary interior latex is not made for repeated heating and cooling, and on a hot radiator it can yellow, soften, or give off an odor every time the heat comes on. Use a heat-tolerant category instead, either a high-heat paint or a durable direct-to-metal enamel rated for your system’s heat.
Do I have to turn the heat off before painting a radiator?
Yes, completely, and let it go cold. A warm radiator flash-dries paint before it can level, causes blistering, and risks burns while you work. Turn off the heat at the valve or boiler and let a heavy cast-iron unit cool fully, which takes time. Only paint cold metal, and plan the job for when you can leave the heat off through curing.
Do I need to prime a radiator before painting?
Prime any bare metal or freshly de-rusted spots with a rust-inhibitive metal primer, which grips the metal and helps stop rust returning under the finish. Spot-priming the exposed areas is the minimum, and priming the whole radiator is worth it if it was heavily rusted or stripped. Follow the primer’s label for dry time before topcoating.
Is it safe to sand an old radiator?
Be careful. Radiators in homes built before 1978 may carry old lead paint, and dry-sanding releases hazardous dust. Test the paint first if you are unsure, wet-sand rather than dry-sand to control dust, clean up carefully, and consider a professional certified under the EPA RRP rule. This is a real health hazard, especially around children, and not legal advice.
Should I brush or spray a radiator?
Both work. Brushing with an angled brush lets you get between the fins with no masking of the room, but it is slow and fiddly. Spraying gives the most even finish and reaches the awkward gaps easily, at the cost of heavy masking for overspray. Either way, use thin coats and keep paint out of the valves and gaps.
How long before I can turn the radiator back on?
Wait for the paint to fully cure, not just dry to the touch, following the time on the product’s label. Heating it too early can soften, yellow, or smell up the finish. When you do turn it on, run it low the first time in a ventilated room to let the coating settle and burn off any initial odor before normal use.
Anything that gets hot needs a coating chosen for that rather than for looks. See heat resistant paint for how these products differ from ordinary finishes, why the surface preparation is the whole job, and the first firing that most people are not warned about.
Painters quoting radiators count them by type and size, check for lead and old pipe insulation first, and price covers separately. See how to price painting radiators and baseboard heaters.