In this article
- Your three options, with honest trade-offs
- Roller nap selection by texture depth: the core technique
- Clean off the dust first
- Spot-repair gouges and cracks
- Prime porous new texture and patches
- Texture eats more paint, so budget extra
- Textured ceilings and popcorn
- Common mistakes on textured walls
- DIY or hire out, and the cost angle
- Frequently asked questions
- What roller nap should I use on textured walls?
- Do textured walls use more paint?
- Can I make textured walls smooth instead of painting the texture?
- Why do my textured walls look streaky after painting?
- Do I need to prime textured walls before painting?
- Is painting a popcorn ceiling the same as painting textured walls?
Quick answer: You can paint textured walls as is, but use a thicker-nap roller to reach into the low spots, clean off dust first, prime any patches, and buy extra paint because texture has more surface area and drinks more. To go flat instead, skim-coat or knock down the high spots first.
Orange peel, knockdown, skip-trowel, and sand-swirl textures were sprayed or troweled onto walls and ceilings to hide imperfections and add a little character. Painting over them is completely normal and usually straightforward, but the texture changes two things about the job: how you get even coverage into every low spot, and how much paint you end up using. Get the roller nap wrong and you leave streaky misses in the valleys. Ignore the extra surface area and you run out of paint halfway through the second coat. This guide covers the three honest options for dealing with existing texture, then the technique that makes any of them come out clean.
Your three options, with honest trade-offs
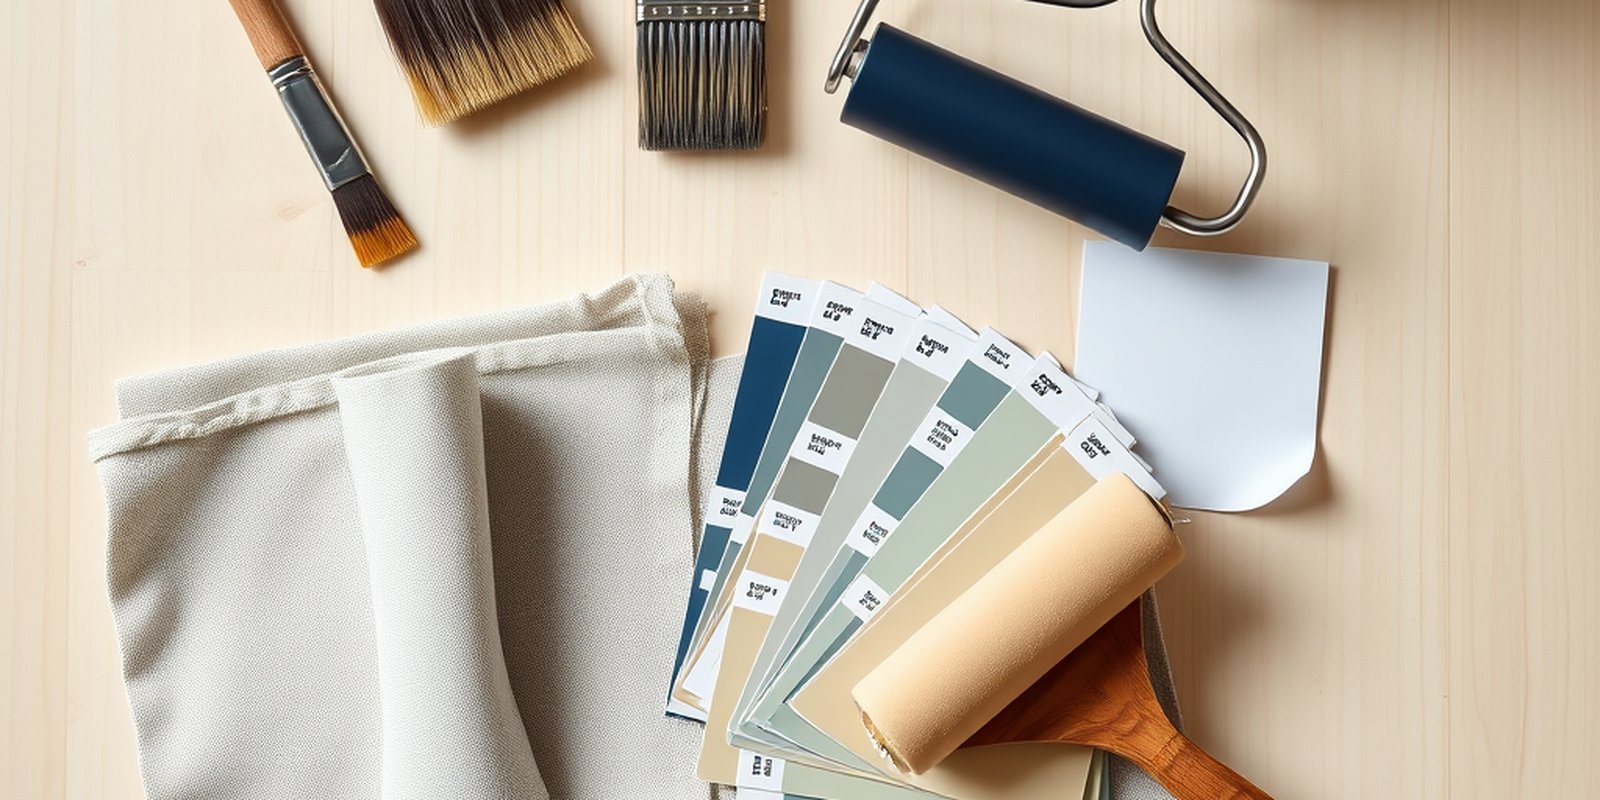
Before you buy anything, decide what you actually want the wall to look like when you are done. There are three real choices and they involve very different amounts of work.
Option one, paint it as is. This is the easiest path and the right call for most people. You keep the existing texture and simply repaint it a new color. The only real skill is choosing a roller nap thick enough to push paint into the low points so you do not leave holidays, which are the thin or missed streaks that show up in raking light. This is where a good roller technique matters, and our guide on how to avoid roller marks covers keeping a wet edge and rolling in a consistent direction so texture does not amplify every mistake.
Option two, skim-coat it smooth first. If you want the flat, modern, texture-free look, you skim a thin layer of joint compound over the whole wall, let it dry, and sand it flat before painting. This is real work and some mess, but it permanently changes the wall. Our walkthrough on how to skim-coat a wall covers the technique. Budget time for multiple thin passes rather than one thick one.
Option three, knock down or sand the high spots. A middle path for heavy or damaged texture is to knock off just the tall peaks so the surface reads calmer without a full skim. Light sanding or scraping of high points, then priming, gets you partway to smooth with less effort than a full skim. See how to sand walls before painting for doing this without gouging the drywall. Watch for dust and, in a pre-1978 home, the possibility of lead paint, which means no dry sanding without proper precautions.
Roller nap selection by texture depth: the core technique
If you take one thing from this guide, take this. The depth of your texture decides your roller nap, and the wrong nap is the number one reason textured walls come out patchy. Nap is the thickness of the roller cover fabric, and a thicker nap holds more paint and reaches deeper into valleys. Match it to the texture and coverage becomes easy.
| Texture type | Depth | Recommended roller nap | Why |
|---|---|---|---|
| Smooth or very light orange peel | Minimal | 3/8 inch | Enough to coat without over-stippling a near-flat surface. |
| Standard orange peel | Shallow | 1/2 inch | Reaches into the small dimples for even color. |
| Knockdown | Medium | 1/2 to 3/4 inch | Bridges the flattened peaks and fills the low pockets between them. |
| Skip-trowel or sand-swirl | Medium to deep | 3/4 inch | Deeper pile pushes paint into pronounced grooves and ridges. |
| Heavy popcorn or stucco-style | Deep | 3/4 to 1 inch | Thick nap needed to load the many deep recesses in one pass. |
When in doubt on a medium texture, size up rather than down. A slightly thicker nap loads the valleys; a too-thin nap skips them and forces you into extra coats. Load the roller well and do not press hard, because pressing squeezes paint out of the nap and starves the very low spots you are trying to fill.
Clean off the dust first
Textured surfaces trap dust, cobwebs, and grime in every recess, and paint will not bond to a dusty wall. Before you paint, dust the walls down and wash where needed. Our guide on cleaning walls before painting covers this, and it matters more on texture than on smooth walls because there are far more nooks for dust to hide in. A quick vacuum with a brush attachment followed by a wipe with a damp cloth or sponge gets textured walls ready. Let them dry fully before priming or painting. Pay extra attention to kitchen and bathroom texture, where grease and soap film settle into the recesses and can quietly wreck adhesion even when the wall looks clean. In those rooms a mild degreasing cleaner is worth the few extra minutes, followed by a clean-water wipe so no residue is left behind.
Spot-repair gouges and cracks
Texture hides small flaws well, but real damage still needs patching. Fill any gouges, cracks, or nail holes with joint compound or spackle. The tricky part on a textured wall is that a smooth patch stands out against the surrounding texture, so after the filler dries you may need to re-texture the patch to blend. A dab of texture from a spray can, a stipple with a sponge, or a light dab with a stiff brush can mimic the surrounding pattern. Practice the blend on a scrap of cardboard first so you match the scale of the surrounding pattern rather than overdoing it. Prime the repaired area before painting so it does not flash.
Prime porous new texture and patches
Freshly applied texture, new joint compound patches, and any bare drywall are porous and will soak up paint unevenly, leaving dull flashy spots. Prime those areas first with a drywall or general-purpose primer so the surface seals and your finish color goes on uniform. If the whole wall is new or freshly skim-coated, prime the entire wall. For previously painted texture in good shape, you often can skip full priming and just spot-prime repairs. Our overview on whether you need primer helps you decide based on the surface.
Texture eats more paint, so budget extra
Here is the budgeting reality nobody warns you about. A textured wall has more actual surface area than a smooth wall of the same dimensions because every bump and valley adds square inches. That means texture drinks noticeably more paint, sometimes 10 to 25 percent more depending on how deep the texture is. If a smooth room takes two gallons, the same room in heavy knockdown or skip-trowel might take closer to two and a half. Plan for that up front so you do not run short mid-wall, which forces you to stop and risks a visible lap line. Two coats are the norm on texture for even color, and heavy texture in a big color change can want a third. See how many coats of paint you need for the coverage math, and run your room through the painting cost calculator to get a paint quantity that already accounts for the wall area.
Textured ceilings and popcorn
Ceilings are textured even more often than walls, and the same rules apply: thicker nap, more paint, clean off dust first. One special case is popcorn ceiling. Painting popcorn is possible but risky because rolling wet paint can loosen the texture and make it fall off in clumps, and older popcorn can contain asbestos, which must never be disturbed without testing. If you are dealing specifically with a popcorn ceiling, read how to handle popcorn ceilings before you touch it, because in many cases spraying rather than rolling, or removing it entirely, is the safer route.
Common mistakes on textured walls
A few predictable errors turn an easy texture repaint into a frustrating one. The first is reaching for a thin smooth-wall roller cover out of habit, which skips the valleys and leaves streaky misses that only show up once the light rakes across the wall in the evening. The second is pressing hard on the roller to cover faster, which squeezes paint out of the nap and starves the low spots you are trying to fill, the opposite of what you want. The third is underbuying paint because you estimated for a smooth wall and forgot that texture drinks more, then running dry mid-wall and leaving a lap line. The fourth is skipping the dusting step, so paint sits on grime in the recesses and never fully bonds. The fifth is patching damage with smooth filler and forgetting to re-texture the patch, which leaves an obvious flat island in the middle of the pattern. Load the roller generously, roll with a light touch, buy extra, clean first, and blend your patches, and textured walls come out looking uniform and intentional.
It also helps to work in manageable sections and keep a wet edge, because texture makes lap marks harder to hide than smooth drywall does. Cut in the edges of a wall, then immediately roll the field while the cut-in paint is still wet so the two blend without a visible seam. Finishing one full wall before taking a break, rather than stopping mid-wall, keeps the whole surface drying at the same rate.
DIY or hire out, and the cost angle
Repainting existing texture is one of the friendlier DIY jobs as long as you nail the nap and buy enough paint. The extra work and cost only climb when you choose to change the texture, because skim-coating a whole room is slow, dusty, and where a lot of people decide to hire a pro. If you are weighing doing it yourself against a quote, price the paint and materials for the as-is option first, since that is the cheapest, then compare against a smoothing or removal quote. The calculator gives you a fast ballpark for the painting portion, and any dollar figures should be treated as typical ranges to verify locally rather than fixed quotes. Remember to feed the calculator your real wall dimensions rather than a rough guess, since the extra surface area of deep texture is exactly the variable that trips up seat-of-the-pants estimates.
Frequently asked questions
What roller nap should I use on textured walls?
Match nap to texture depth. Light orange peel takes a 3/8 to 1/2 inch nap, standard orange peel a 1/2 inch, knockdown a 1/2 to 3/4 inch, and skip-trowel or heavy texture a 3/4 inch or thicker. When unsure on a medium texture, size up so the nap can reach into the low spots.
Do textured walls use more paint?
Yes. Texture adds surface area, so the same room can take roughly 10 to 25 percent more paint than a smooth wall, more for deep textures. Buy extra up front and plan on two coats so you do not run short mid-wall and leave a lap line.
Can I make textured walls smooth instead of painting the texture?
Yes, by skim-coating a thin layer of joint compound over the wall and sanding it flat, or by knocking down and sanding just the high spots for a partial smooth. Both are more work and mess than painting as is, but they permanently change the look.
Why do my textured walls look streaky after painting?
Almost always a nap that is too thin to reach the valleys, or pressing too hard on the roller and starving the low spots. Use a thicker nap, load it well, roll with light pressure, and keep a wet edge. A second coat evens out any remaining thin areas.
Do I need to prime textured walls before painting?
Prime new texture, fresh patches, and bare drywall because they are porous and flash otherwise. Previously painted texture in good condition usually only needs spot-priming of repairs. Prime the whole wall if it is new or freshly skim-coated.
Is painting a popcorn ceiling the same as painting textured walls?
Similar idea but riskier. Rolling wet paint on popcorn can loosen the texture and make it fall, and older popcorn may contain asbestos that must be tested before disturbing. See our dedicated popcorn ceiling guide, since spraying or removal is often the safer choice.
Want to add a troweled texture on purpose? See how to apply Venetian plaster.
For painters, heavy texture changes the material, the labor and the repairs. How to band it on an estimate is covered in how to price painting textured walls.