In this article
- Why paneling paints slower than a wall
- Measuring paneling, wainscot and trim components
- Profiles and bands
- Keep the grooves or fill them
- Preparing a clear finished or prefinished surface
- Basements, dens and the rooms that come with paneling
- Wainscot in dining rooms, halls and older homes
- Two colors and the line at the cap
- Materials for paneling and wainscot
- Writing the paneling line
- Timing paneling on real jobs
- Frequently asked questions
Paneling and wainscoting are some of the most satisfying transformations in residential painting. A dark basement lined with old sheet paneling becomes a bright room. A dining room with tired stained wainscot looks new with a coat of enamel. They are also items that painters regularly underprice, because they measure like walls and paint like trim.
This guide is for painting contractors pricing wood paneling, beadboard, board and batten, raised panel wainscot and similar wall treatments. It explains what makes them slower than a flat wall, how to measure and band them, the decision about grooves that changes the whole job, and how to write the line so the customer understands it.
Why paneling paints slower than a wall
A flat wall is rolled. A paneled wall has grooves, reveals, rails, stiles, caps and moldings, and each one breaks the roller pass. Grooves have to be brushed out so that paint does not pool or leave gaps. Raised panels have four beveled edges and a field, and the bevels collect runs. Caps and chair rails are trim, with two edges and a face. Even simple beadboard has a bead every few inches that has to be worked by brush.
Then there is the surface itself. Most paneling that customers want painted was finished with a stain and clear coat, or it is prefinished sheet paneling with a slick factory surface. Neither will take paint without cleaning, deglossing and a bonding primer. That preparation applies to every square foot, including the grooves.
The result is that paneling costs more per unit of area than a wall, and often more than painters expect. Treating it as a wall with a small surcharge is the usual way to lose money on it.
Measuring paneling, wainscot and trim components
The measurement should match the way the work is done. Full height sheet paneling can be measured by area like a wall, with a band for its profile and a separate line for any trim. Wainscot is better measured by run along the wall, with its height noted, because the cap, the base and the panel detail all scale with length rather than with area.
Useful components to record are:
- Area of flat or grooved sheet paneling, with the groove spacing noted.
- Run of wainscot by height and type: beadboard, board and batten, flat panel or raised panel.
- Run of cap, chair rail, base and any applied molding.
- Number of inside and outside corners, which each need cutting in.
- Outlets, switches, vents and radiators that interrupt the panels.
The wainscoting painting calculator estimates paint for wainscot from its run and height, which is a good check on the materials line. Labor is the larger number and comes from their own records.
Profiles and bands
As with any detailed item, banding by profile keeps estimates consistent. A painter might use flat sheet paneling, grooved sheet paneling, beadboard, board and batten, and raised panel as bands, each with its own rate. The important thing is that the same profile goes into the same band every time.
Raised panel wainscot is usually the slowest, because each panel is a small piece of joinery with a field, four bevels, and the rails and stiles around it. Board and batten sits in between: the boards are flat but the battens add two edges each. Grooved sheet paneling looks simple but every groove is a line to brush out.
Keep the grooves or fill them
The biggest decision on sheet paneling is whether to keep the grooves or fill them to create a flat wall. Keeping them is the quicker option: clean, degloss, prime, paint, working the grooves by brush. Filling them is a different job entirely. Each groove is filled with a compound, sanded, often filled again, and the whole wall may need a skim coat to hide the panel seams and give a smooth finish.
Filling grooves is really a surfacing job, closer to skim coating than to painting. The pricing of that kind of work is set out in how to price skim coating. On paneling, there is an added risk: sheet paneling can move with humidity, and filled grooves or seams may crack over time. Say so in the estimate, so the customer chooses knowing the tradeoff.
The homeowner guide to both options is how to paint over wood paneling, which is useful to share with a customer weighing the look they want. The pricing choice is simpler to present as two options with two numbers.
Preparing a clear finished or prefinished surface
Preparation is where paneling jobs are won or lost. Stained and varnished paneling has usually collected years of grime, smoke and cooking residue, especially in kitchens and family rooms. It needs cleaning with an appropriate degreaser, rinsing, and either scuff sanding or a liquid deglosser. Prefinished sheet paneling has a factory coating that is designed to resist moisture and marks, and it is hard for paint to grip.
A bonding primer is essential, and on wood that bleeds tannin or knots, a stain blocking primer may be needed as well. Skipping this step is the most common reason painted paneling peels or shows bleed through later, and the callback costs far more than the primer would have. The costs of returning to fix a job are covered in painting callback and rework costs.
Old paneling in basements, dens and cottages may also carry a surface finish of unknown age. In older homes, existing painted wainscot may contain lead. Test before quoting any sanding, using the approach in how to test for lead paint.
Basements, dens and the rooms that come with paneling
A large share of paneling work is in basements. The paneling was installed decades ago to finish a concrete room, and the customer now wants it bright. Basement jobs bring their own conditions: low ceilings, limited light, dampness, small windows, and often a drop ceiling or exposed joists to work around. Pricing a basement as a whole is covered in how much to charge to paint a basement, and paneled walls are the single item most likely to push a basement estimate higher.
Dampness matters for the result. Paneling on exterior basement walls may have moisture behind it, and painting it will not fix that. If the paneling is swollen, stained from below or smells musty, raise it with the customer before quoting. The EPA brief guide to mold, moisture and your home is a helpful reference, and a paint job is not the right place to solve a water problem.
Where the customer still wants the paneling painted over a minor moisture history, write down what was seen: staining, swelling, soft spots, odor. A short note on the estimate that the painter observed these conditions and did not investigate their cause protects both sides. If new staining appears through the paint later, the conversation starts from a record rather than from memory.
Wainscot in dining rooms, halls and older homes
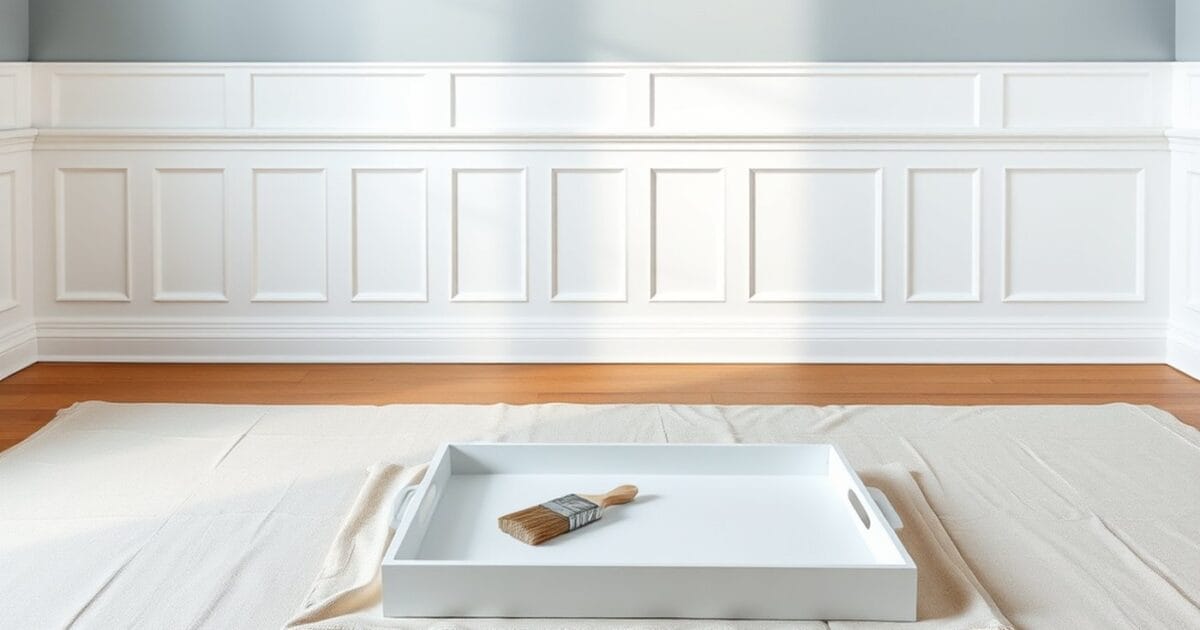
Wainscot in dining rooms, entry halls and stair halls is usually finer work than basement paneling. It may be solid wood raised panel, it may be original to the house, and the customer usually wants a high quality enamel finish with crisp lines against the wall color above.
Original wainscot in older homes can be a preservation question as well as a painting one. Where the wood has never been painted, painting it is effectively irreversible, and some owners of historic homes will want to consider that carefully. The National Park Service guidance on painting historic interiors discusses how original finishes and wood surfaces were treated, and the pricing of work on older homes in general is covered in how to price historic home painting.
Two colors and the line at the cap
Wainscot is almost always a two color job: one color on the wainscot, another on the wall above, and sometimes a third on the cap. The line along the top of the cap is one of the most visible lines in a room, and it must be straight and clean along its whole length. That takes time, particularly on older walls that are not flat.
If the wall above is being painted as part of the same job, the painter controls both sides of the line. If only the wainscot is being painted, the crew has to cut in against an existing wall finish without touching it, which is slower. Note which case applies and price accordingly.
Materials for paneling and wainscot
Paneling and wainscot usually need three products: a bonding primer, a stain blocker where needed, and a durable enamel for the finish. The enamel should suit the room. Wainscot in a hallway takes knocks from bags and furniture, and a harder finish wears better. Sheen choice matters too: higher sheens show surface flaws on old paneling, and lower sheens may not stand up to cleaning. The tradeoffs are set out in the paint sheen guide.
Paneling with deep grooves uses more paint than its flat area suggests, because the groove walls add surface. Allow for this in the quantity and include primer as its own line. Old sheet paneling made from composite wood products may also give off odors when sanded, and the EPA explains the facts about formaldehyde, which is found in some pressed wood products.
Writing the paneling line
A clear line for paneling names the area or run, the profile band, the preparation and primer, the number of finish coats, whether grooves are kept or filled, whether trim and caps are included, and how many colors are used. With that detail, the customer can see what they are paying for and the crew can see what they are delivering.
Where filling grooves is an option, present it as an alternate with its own price, and note the risk of cracking at seams. Where the paneling is in poor condition, note any repairs separately. The limits of what a painter should repair are discussed in how to price repairs on a painting job, and swollen or delaminating sheet paneling is often better replaced than painted.
Timing paneling on real jobs
As with every item in this series, the only reliable rates are the ones the painter records. Time a few jobs with the area or run, profile band, preparation and number of coats recorded. After a few paneling jobs, the difference between bands becomes clear, and the estimate stops being a guess. Those rates go onto the painting estimate rate card so that every estimator prices paneling the same way.
Detail work is where square foot pricing loses money.
PaintPricing builds itemized estimates from your own rates, so balusters, windows, built ins and caulk sit on the quote as counted lines instead of disappearing into the wall price. Free for your first 3 quotes, no card required.
Frequently asked questions
How do painters price wood paneling?
Usually by area for full height sheet paneling and by run for wainscot, with a rate for each profile band taken from their own timed jobs. Preparation, primer, trim and any groove filling are priced as separate parts of the line.
Is painting paneling more expensive than painting a wall?
Yes, per unit of area. Grooves, panels and caps have to be brushed, and most paneling needs cleaning, deglossing and a bonding primer before it will hold paint.
Should the grooves in paneling be filled before painting?
It depends on the look the customer wants. Filling creates a flat wall but is a much larger job, closer to skim coating, and filled seams may crack as the paneling moves. Offer it as a separate option.
What primer is used on stained paneling?
A bonding primer suited to glossy or clear finished surfaces, and a stain blocking primer where knots or tannin may bleed through. The product data sheet for the chosen primer is the guide.
How is wainscot measured for a painting estimate?
By run along the wall, with the height and type noted, plus separate runs for the cap and base. Corners and interruptions such as outlets and vents are counted because each one adds cutting in.
Can basement paneling be painted if it feels damp?
Paint will not fix moisture. If the paneling is swollen, stained from behind or smells musty, the cause should be addressed first. Raise it with the customer before quoting.