In this article
- The Two Challenges Of Painting Paneling
- Choose Your Look: Keep The Grooves Or Fill Them
- Step By Step Prep For Wood Paneling
- Why The Primer Choice Matters So Much
- What Topcoat To Use On Painted Paneling
- How Many Coats Paneling Needs
- Keep The Grooves Versus Fill Them: Comparison
- Common Mistakes When Painting Paneling
- Cost And Whether To Hire Out
- Frequently asked questions
Quick answer: Yes, you can paint over wood paneling. Clean and degrease it, scuff-sand or degloss the slick factory finish, decide whether to keep or fill the grooves, then apply a stain-blocking bonding primer so tannins and knots cannot bleed through. Finish with two coats of quality wall or trim paint.
Dark wood paneling can make a whole room feel like a 1970s basement, and paint is the fastest way to drag it into the present. The catch is that paneling fights back in two specific ways: the vertical grooves that read as lines on the wall, and the slick sealed or varnished factory finish that new paint does not want to stick to. Handle both and you get a clean, updated wall. Ignore either and you get peeling paint or a wall that still looks like paneling wearing a coat of color. This guide covers the two design choices, the exact prep sequence, and the primer that keeps knots from bleeding. To scope what the room will cost, our painting cost calculator gives you a quick number before you buy anything.
The Two Challenges Of Painting Paneling
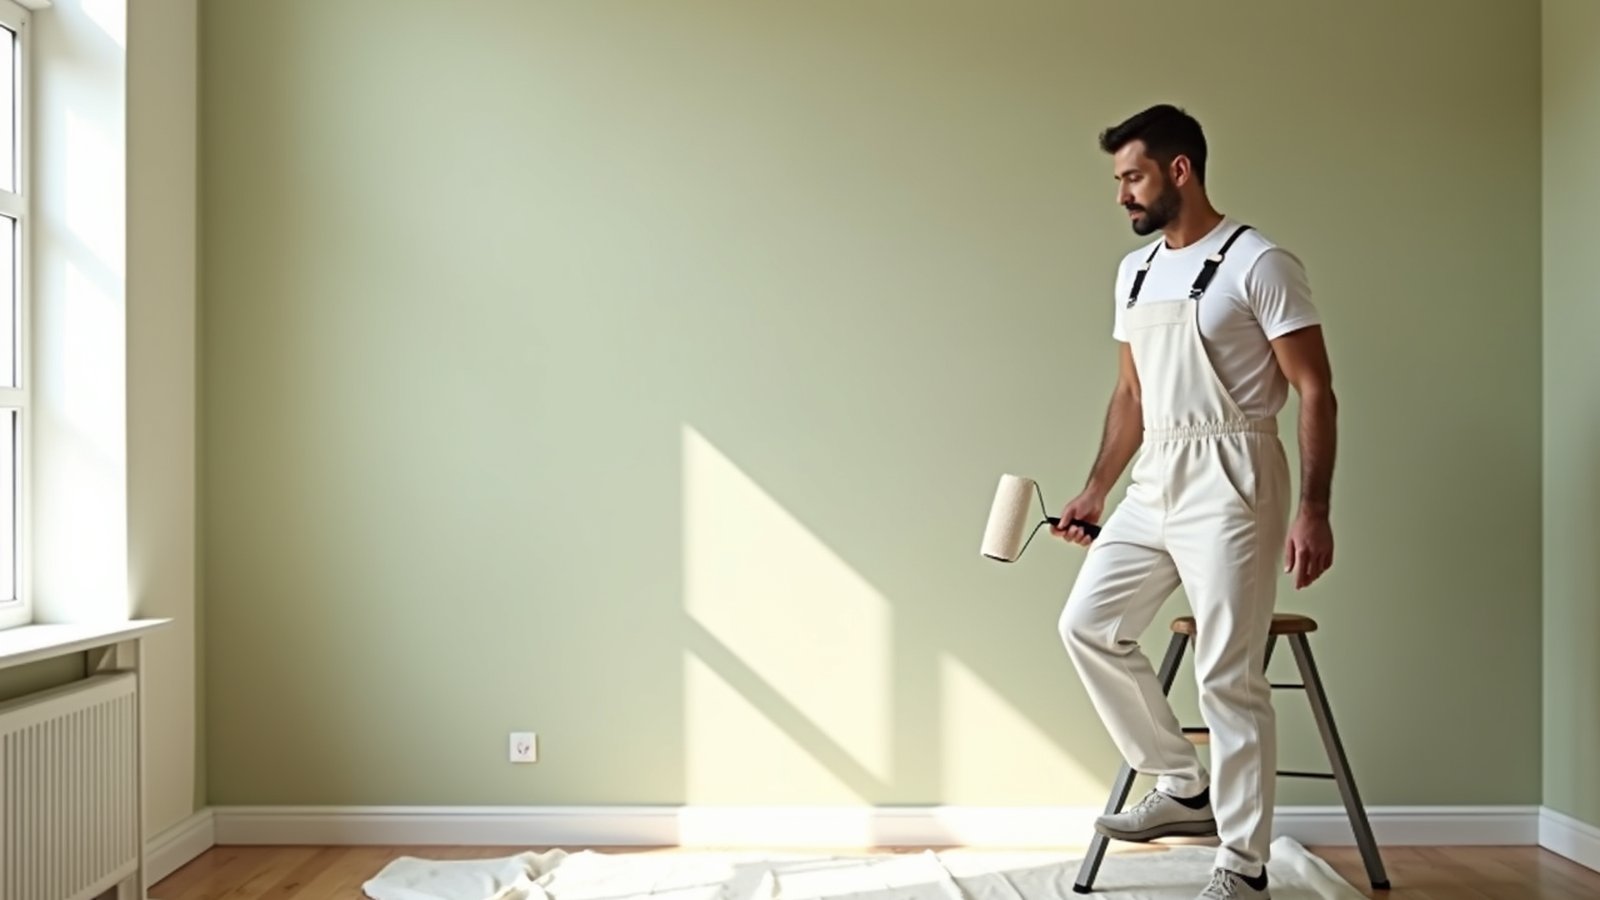
Before you open a can, understand what you are up against. The first challenge is visual: paneling has evenly spaced vertical grooves, and once painted a single color those grooves become the most noticeable feature in the room. You either lean into them or fill them. The second challenge is adhesion: most paneling was finished at the factory with a sealed, semi-gloss or varnished surface designed to resist scuffs and stains. That same slickness rejects paint. Skip the deglossing step and your topcoat can peel off in sheets months later. Both problems are solvable, but they need different fixes, so plan for both.
Choose Your Look: Keep The Grooves Or Fill Them
This is a design decision you make before prepping, because it changes your material list and timeline.
Keep the grooves. This is the faster route and gives a cottage, board-and-batten-adjacent look that many people actually like once the wood tone is gone. You paint the panels and grooves the same color, and the grooves become a subtle architectural line rather than a dated feature. Painted a soft white or greige, grooved paneling reads as intentional wainscoting-style wall treatment.
Fill the grooves for a flat wall. If you want the paneling to disappear entirely and read as smooth drywall, fill the grooves with joint compound or a lightweight spackle, then sand flush. This is more work and takes patience, usually two or three passes of compound with sanding between, because the grooves shrink as the compound dries. Our skim coat guide covers the knife technique for filling and feathering so the seams vanish. Filled and skimmed paneling is nearly indistinguishable from a plaster wall once painted, but budget real time for it. If you have never skim-coated before, practice your feathering on a lower panel first, because the goal is a gradual transition with no hard edges, and that takes a few passes to get a feel for. Rushing the fill is the fastest way to end up with visible ridges that no topcoat will hide.
Step By Step Prep For Wood Paneling
Prep is where paneling jobs are won or lost. The slick finish is the enemy, so most of these steps are about giving the primer something to grab. Our general wall prep guide has the fundamentals, and here is the paneling-specific order.
- Clean and degrease. Paneling collects years of dust, hand oil, and in older homes a film of furniture polish or cooking residue. Wash it down thoroughly and let it dry. Our wall cleaning guide explains why a clean surface is non-negotiable before any primer.
- Degloss or scuff-sand the sheen. Knock the shine off the entire surface so the primer can bond. You can scuff-sand with medium grit, which our wall sanding guide walks through, or use a liquid deglosser where sanding is awkward. Either way, the goal is a uniformly dull surface with no glossy spots left.
- Fill grooves (optional). If you chose the flat-wall look, fill the grooves now with compound, sand flush, and repeat until level.
- Caulk gaps and fill nail holes. Run a bead of paintable caulk where panel edges meet trim, ceiling, and baseboards, and fill any nail or fastener holes. This tidies the transitions so the finished wall looks built, not covered.
- Prime with a stain-blocking bonding primer. This is the critical coat, covered in detail below.
- Apply two topcoats. Once primed, roll and brush two coats of your color.
Why The Primer Choice Matters So Much
Two things can wreck a paneling paint job, and the right primer solves both. First is adhesion: a bonding or adhesion primer is formulated to grip slick, sealed surfaces that ordinary primer slides off. Second, and this is the part people miss, is bleed-through. Knotty pine and many dark wood panels contain natural tannins and resin in the knots. A water-based latex primer or paint lets those tannins wick up through the coating and leave yellow-brown stains, especially over knots, weeks after you thought you were done.
The fix is a stain-blocking primer that also bonds. A shellac-based primer blocks tannin and knot bleed extremely well and grips the surface, and it dries fast. An oil-based stain-blocking primer is another category that seals tannins reliably. Treat these as examples of the stain-blocking bonding primer category rather than a single product to chase. If you scuff-sanded well and primed with a proper stain blocker, your topcoat will stay put and stay clean. For the general logic on sealer coats, see our guide on whether you need primer before painting, and ventilate the room and wear respiratory protection with any solvent primer.
What Topcoat To Use On Painted Paneling
Once the bonding stain-block primer is down, your color coats can be standard interior paint. For paneling on a general wall, a quality water-based wall paint in eggshell or satin holds up well and wipes clean. If the paneling is in a den, hallway, or anywhere it gets touched and scuffed, a slightly higher sheen adds washability. Because paneling is a wood-based surface with grooves and edges, some people prefer a more durable enamel-style finish similar to what you would use on trim. Our comparison of latex versus oil-based paint lays out the durability and cleanup trade-offs so you can decide, and modern waterborne alkyd enamels are one category that gives a hard, trim-like finish without the solvent cleanup of true oil.
How Many Coats Paneling Needs
Budget for one coat of stain-blocking bonding primer plus two topcoats, and be ready for a third topcoat if you are going light over dark paneling. Dark walnut, mahogany, and stained pine hide poorly under a single pass of light paint, so the primer coat does a lot of the heavy lifting on both adhesion and coverage. Let the primer cure fully before you topcoat, and respect the recoat window between color coats so the finish cures hard rather than staying soft and tacky. Our guide on how many coats of paint you need covers how a big color jump raises the count. If you filled the grooves, inspect the skimmed areas under raking light after priming, because the primer will reveal any low spots or sanding marks you missed. It is far easier to spot-fix and re-prime a flaw now than to see it grinning back at you through two finish coats.
Keep The Grooves Versus Fill Them: Comparison
| Factor | Keep the grooves | Fill the grooves flat |
|---|---|---|
| Effort | Low, prep and paint only | High, multiple fill and sand passes |
| Final look | Cottage, wainscot-style lines | Smooth, reads like drywall |
| Time to finish | A weekend for a room | Several days with drying time |
| Material cost | Lower | Higher, added compound |
| Risk of visible flaws | Grooves hide minor issues | Any missed low spot shows |
| Best for | Casual, character-friendly rooms | Modern, minimal interiors |
Common Mistakes When Painting Paneling
- Skipping the degloss. Painting over a slick varnished finish without dulling it is the top cause of peeling. Scuff or degloss every square inch.
- Using a water-based primer over knotty or dark paneling. Tannins bleed through and leave yellow stains. Use a shellac or oil stain-blocking bonding primer.
- Filling grooves in one thick pass. Compound shrinks and cracks. Build it in thin layers with sanding between.
- Not caulking the edges. Uncaulked panel-to-trim gaps make even a perfect paint job look unfinished.
- Rushing the primer dry time. Topcoating too soon over solvent primer traps solvent and softens the finish.
Cost And Whether To Hire Out
Painting grooved paneling as-is is a very approachable DIY project, and your main costs are the bonding stain-block primer and two topcoats. The budget and labor climb sharply if you fill the grooves, because skim work is slow and the finish is unforgiving. If you are covering a whole basement or a large feature wall and want a flat, drywall-like result, getting a free painting estimate is worth it to compare against your own time. For a quick project number, run the room through the cost calculator. If the paneling is in a basement specifically, our guide on the best paint for a basement covers moisture-aware product choices for that setting.
Because paneling covers wall area fast, the biggest budget variable is usually how much prep the surface needs and whether you fill the grooves, not the paint itself. One honest word on older homes: paneling installed decades ago can sit over walls with lead-based paint or be attached with materials from an era before modern standards. If your home predates the late 1970s and you plan to sand aggressively or fill grooves, be cautious about creating dust, and follow lead-safe practices or bring in a certified pro if there is any chance of lead paint underneath. It is also worth checking for moisture behind basement paneling before you seal it up with fresh paint, since trapped damp leads to mildew and peeling no matter how good your prep is. If you find any dampness or mildew, fix the moisture source first rather than painting over it, and treat the affected area before priming.
Frequently asked questions
Do I have to sand wood paneling before painting?
You need to dull the slick factory finish, and scuff-sanding is the most reliable way to do it. If sanding is impractical in tight spots, a liquid deglosser achieves the same tooth. Either way, the surface must be uniformly dull before you prime, or the paint can peel.
What primer should I use on wood paneling?
Use a stain-blocking bonding primer. Shellac-based and oil-based stain-blocking primers both grip the slick surface and seal the tannins in knots so they do not bleed yellow through your paint. A plain water-based primer risks both poor adhesion and knot bleed.
Should I fill the grooves in paneling?
Only if you want a smooth, drywall-like wall. Filling grooves with joint compound and sanding flush takes several passes and real patience. Many people leave the grooves and paint them a light color for a clean, cottage-style look with far less effort.
Will the wood grain or knots show through the paint?
Knots can bleed tannin and stain the paint if you skip a proper stain-blocking primer. Grain texture may still be faintly visible if you keep the grooves and do not skim, which many people find acceptable. A shellac or oil stain blocker prevents the discoloration.
Can I use regular wall paint on paneling?
Yes, for the color coats, once you have deglossed and primed with a bonding stain-block primer. An eggshell or satin water-based wall paint works well. In high-touch areas, a more durable enamel-style finish similar to trim paint holds up better.
How much does it cost to paint wood paneling?
It depends on room size, whether you fill the grooves, and if you hire out. Keeping the grooves is inexpensive and DIY-friendly, while filling them adds material and labor. Treat any figure as a typical range, verify locally, or use the calculator for a project-specific estimate.